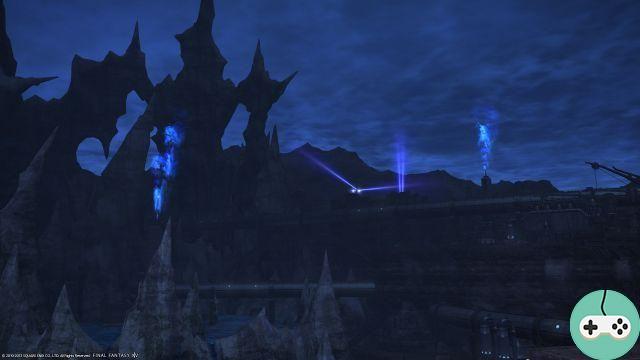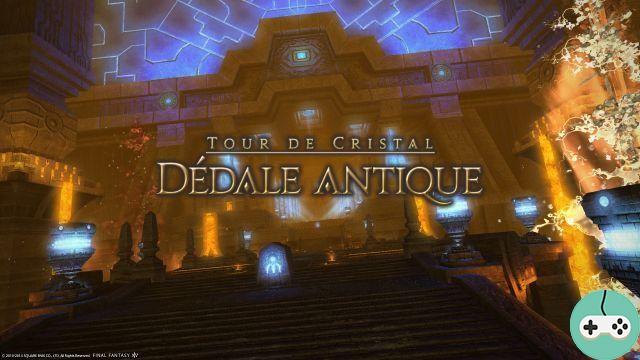
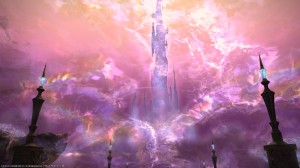
The Crystal Tower is the first raid of 24 players, introduced in 2.1. To venture there you will first have to do some level 50 quests. It all starts in Mor Dhona with the quest "Allag's Legacy". You will need to participate in several Hazards before starting a second and then a third quest!
Informations
As specified, this raid is for 24 players but you can only form a team of 8 players before registering via the mission tool. The team is aware that this upsets the players and is working on the possibility of returning by preforming an alliance.
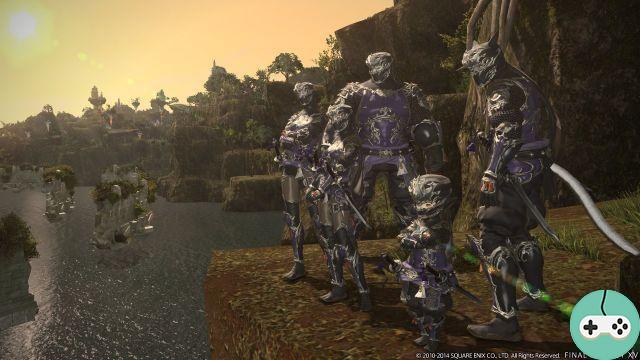
The recommended ilvl is 50.
The Crystal Tower allows you to obtain ilvl80 equipment.
progress
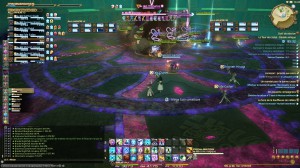
Once the raid has started, each matching band is defined by a letter: A, B and C. Alliance A will be on the left, B in the middle and C on the right. To communicate with alliances, you can use / a. Do not hesitate to report when your team is ready, if a member is disconnected, etc.
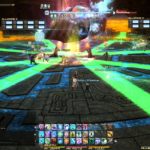
It's time to move on! At the crossroads, turn left. You reach a first room with several enemies: 2 Valefor and a group of elementaries:
- Alliance A is on the left and is dealing with a Valefor.
- Alliance B is placed in the middle and takes care of the elementals.
- Alliance C is on the right and deals with a Valefor.
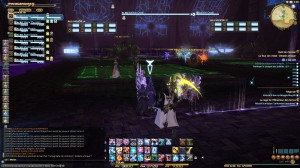
Tanks from Alliances A and C must correctly place their Valefor : the rear of the dragons must face the outside of the rooms and especially not towards the players: they use a rear attack which covers a large area in the shape of a cone. This attack can quickly overwhelm an entire group.
In addition, the groups should place themselves on the greenish slabs. During the fight, part of the ground will be flooded with poisoned water dealing around 200 damage regularly.
The way clear, advance to the next group of enemies. As for the previous room, each alliance positions itself and takes care of its enemies. You can also group all the monsters in the middle for the DPS to have a blast.
Both Megademons use an attack that knocks the tank back. The Balors inflict Slowness. The floor of this room is also covered with poison. So be sure to stay on the slightly raised slabs.
Enemies defeated, a last group awaits you composed of 3 Dira and 3 Cursed eyes. Eyes can be pulled out by tanks without taking Dira at the same time. All of these enemies use different AOEs, which will remind you of Haukke Manor.
As for the other rooms, the ground is covered with poison, but in two stages: first the part on the ground is covered, then only the most raised slabs will be spared.
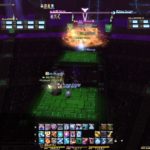
This last group eliminated, you advance towards the first boss of the ancient Daedalus: Calcidragon.
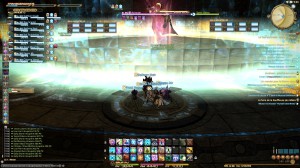
Premier boss
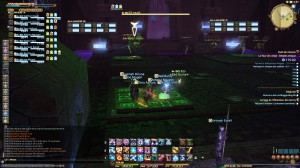
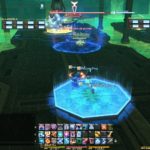
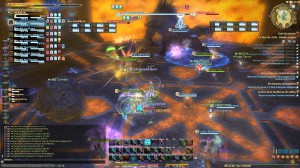
It is at this moment that a Main Tank designates itself (or is designated if the latter are cautious) to take care of Calcidragon. The Main Tank will take him to the north of the room on a slab. During the fight, be careful not to walk too far outside the slabs, the floor of the room is still covered with poison.
The other tanks will be placed on the first slabs near the central circle. Of Platinal will appear during the fight: the tanks will have to take them and bring them to the last slabs. It is very important here not to DO NOT kill a Platinum where another has already been killed: Calcidragon will "die" for the first time after two waves of Platinum which will bring them back to life. If two skeletons were killed in the same place, a bond will materialize between them giving them a speed buff. They will then sprint towards Calcidragon's body and explode when they arrive on it. This explosion does enormous damage. If two groups of skeletons reach the boss, it's death for the alliance (or a good part).
Skeletons defeated, Calcidragon rises from the ashes. The strategy is the same as before. After his second and final resurrection, the boss will spawn several Putrescent eyes that the other tanks will distract while the DPS is focused on Calcidragon.
The main tank will have to be careful of a large Calcidragon cone attack which can inflict a kind of charm on it: it will then happily walk around the room and have a good chance of staying there.
The dead boss, the treasure chests appear as well as a shortcut. Use the latter to find yourself at the beginning of the Ancient Daedalus. Take this time to the right. The path is then divided into three:
- alliance A goes to the left.
- alliance B in the middle.
- alliance C goes right.
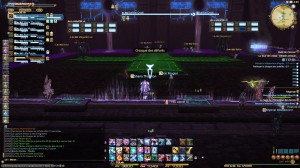
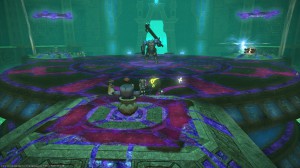
An intermediate boss stands in your way: atoms. You will notice two circles on the ground: one not far from the entrance to the combat zone, the other under Atomos. 4 players must stay in the circle near the entrance. They thus activate a mechanism that makes the boss vulnerable to attacks.
In general, we leave the two healers and two ranged DPS on this circle, while the other DPS of the group go to Atomos. The tanks have to agree on one point: who will hit Atomos and who takes care of the enemies that appear during the fight. The tank dealing with the enemy that appears regularly must bring it near healers and ranged DPS (not too much either ^^). Beware of the rear attack of Valefor, tank it so that its tail is not turned towards other players.
All the Atomos eliminated, the path appears and you can continue to move forward!
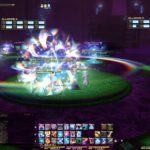
Second boss
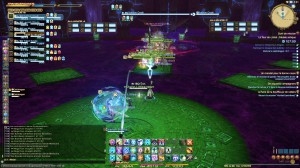
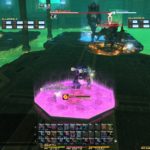
Thanatos patient in this new room. Once again, we place ourselves before starting the fight:
- alliance A is placed on the Magic Urn on the left.
- alliance B is placed on the Magic Urn at the back, skirting the edge to get there.
- alliance C is placed on the Magic Urn on the right.
All of this magic urns play an important role in this fight: they will take turns giving an invisibility buff to each group that will allow them to inflict damage on the boss. The first group to become invisible is Alliance A. While Alliance A takes care of the boss, the other two protect the ballot boxes: kill the Sablons that go on it, heal the Magic Urns.
During the fight, Nemesis will join in the fun. The tanks must be careful that they do not go to tease the healers.
Lots of areas to avoid!
Finally, the Magic Urns will suddenly be attracted to Thanatos: the healers must restore all of their health points to return them to their place.
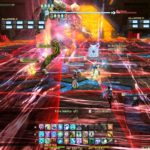
The boss defeated, use the shortcut. Then go straight to clean a new area. 3 Vassago block your way with a Allagois Bass Drum In the center. Alliances must first eliminate the Vassago before the Bombo.
The Vassagos use several AoE attacks including:
- one in a straight line: be careful as they use it almost simultaneously.
- one in a circle: they place a zone of fire on the ground. In general, tanks move their enemy clockwise to avoid this area on the ground.
In addition to vassagos, two types of enemies appear during combat:
- Allagan balloon : DPS must take care of it.
- Napalmo allagois : the DPS must take care of it as a priority. If the Napalmos get to the center of the room they explode, inflicting heavy damage to the entire alliance.
It is therefore up to the DPS to remember the following order of priority: Napalmo> Ballon> Vassago.
All the Vassagos dead, pass on the Bombo Allagois. Note that if you were too slow, it will explode and no one will survive!

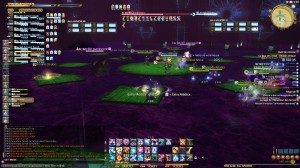
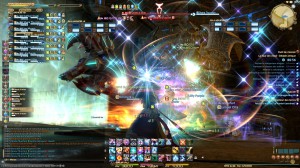
Third boss
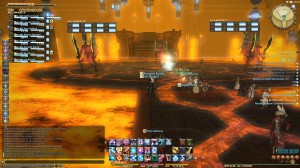
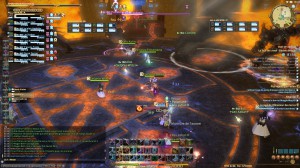
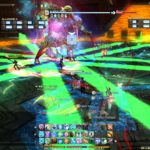
The Bombo Allagois killed, the route to follow appears. Béhémoth is in the middle of the room. At each corner there is a pillar. Let's start with the work of the tanks first:
- a tank takes care of Behemoth: he brings him to the back of this room to the north and places him with his back to the rest of the group.
- four other tanks will each take a pilier : they will have to interact with it when it starts to turn red. The room is continually crossed by a kind of lightning on the ground. The pillars make it possible to stabilize the damage of the latter.
- The last tank will take care of the Steel giant. He will have to position it so that it is not too close to a pillar or a comet: it will destroy them.
Let's move on to DPS:
- in addition to taking care of Behemoth, you must first kill the Puroboros. They appear in pairs in the center of the room and each go towards a pillar. If they get there alive, they explode on it and destroy it.
- between two appearances of Puroboros, you must take care of the Steel Giant. Let the tank in charge of the Giant place it before attacking like brutes.
And the healers to finish, here it will mainly be advice:
- keep an eye out for the main tank even if it's not in your party.
- Extra Médica makes it possible to counter the damage caused by electrified ground.
- keep an eye out for alterations in your group: a burn
 on a player can hurt him very much
Let's move on to the specifics of the fight:
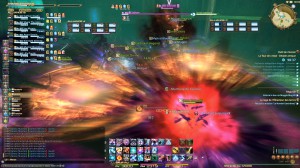
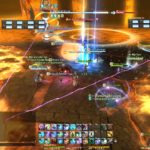
- Des comets will fall on players: they are targeted by a green sign. These players must position themselves correctly on the edge of the circle on the ground so that their comet falls there. These comets are going to be very useful to you! During the fight, Behemoth will rise up yelling "GRRRRAAAAGRRH!". At this point you must get behind a comet in order to be protected from a devastating attack that Béhé will launch. If you don't get to a safe place, you have no chance of survival.
- A zone of wind damage will be placed on the ground randomly: do not stay in it.
Behemoth defeated, the chests and the shortcut appear.
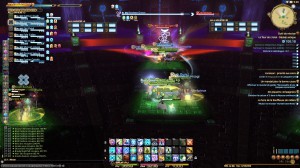
Fourth boss
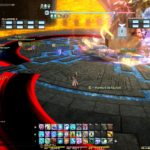
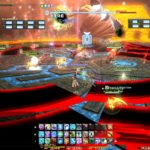
Before starting the fight against Acheron, each group stands on one of the circles around the arena:
- alliance A goes on the circle on the left.
- alliance B on the one at the entrance.
- alliance C goes on the circle on the right.
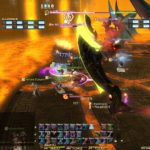
The alliances ready, the main tank will tank Acheron in the center. The groups move from their platforms and move forward because she will end up in the lava, for now.
This fight is the party of the ground zones! Acheron will use several:
- one symbolized by red and black bands.
- another made up of several rings of fire which then explode and deal damage to all groups.
- one marked with green fans.
- one marked with red bands and intersecting.
- another unmarked on the ground: they are a species of balls which whirl around Acheron.
As the fight progresses, the first 4 areas listed will get bigger and bigger.
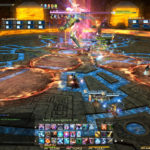
During the fight, Iron claws will appear and imprison a member of each group, usually the one closest to the platform. The DPS must release the imprisoned member as quickly as possible. At this time, your platform is accessible again. With the claw eliminated, all groups must be placed on their respective circles in order to reveal a shield. This shield will allow you to contain Acheron's fatal attack: ancient blaze. Here the main tank must make sure to run very quickly to join his group if he does not want to be disintegrated.
Ancient blaze launched, a Steel giant appears on your platform: your tank the tank next to the circle while the rest of your group is placed behind in order to avoid the blows. The giant dead, the shield disappears and you can continue the fight. This strategy will have to be applied a second time. After the second ancient braise, a Steel Giant appears followed by an Iron Claw.
The rest of the fight continues and Acheron connects the zones. Stay cautious!
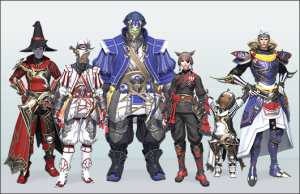
Loot list:
- ÉLM MBL ÉRU
- HAS DRG
- ARC BRD
- OCC ACN MNO INV
- GLA MRD PLD GUE
- PGL ME
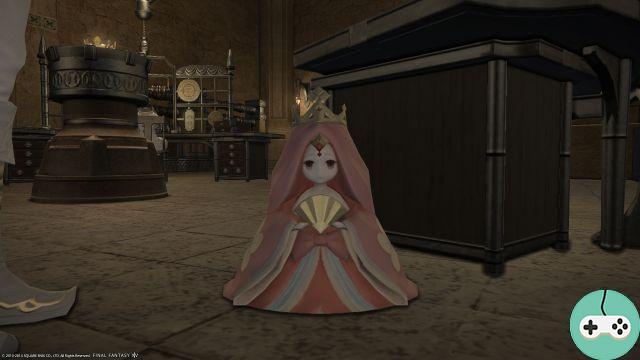
- Royal crown
- Royale dress
- Royal Celestial Gloves
- Royal scarf
- Royal breeches
- Royal shoes
- Onion mask
- Onion weave
- Onion Gauntlets
- Onion tassette
- Saroual onion
- Bunion boots
- Ballad wreath
- Ballad jaseran
- Ballad Gauntlets
- Ballad scarf
- Ballad saroual
- Ballad boots
- Culvert hat
- Culvert jacket
- Celestial Culvert Gloves
- Ponceau scarf
- Culvert breeches
- Culvert shoes
- Crown of light
- Gauntlets of Light
- Armor of light
- Belt of light
- Breeches of Light
- Sabatons of light
- Fûma Clan Eye Patch
- Where the Fûma clan
- Koromo du clan Fûma
- Obi du clan Fûma
- Hakama of the Fûma clan
- Kyahan of the Fûma clan
And because chaining the CTs can quickly be "tiring", keep your Bingo CT grid aside ...;). Enjoying drama is better for your health than eating your keyboard or breaking your controller.