Have you always dreamed of tanking, without feeling (too) lagging behind in terms of damage? Do you want fun and dynamic gameplay? And above all, above all! Want to swing a big ax from side to side but mostly through bad guys' heads? Then the warrior is for you!
This guide intends to introduce you to this job, as well as offer tips, and even explanations to encourage you to tank (the game is sorely lacking in tanks), and who knows how to teach you two or three little things in the process (let's be ambitious).
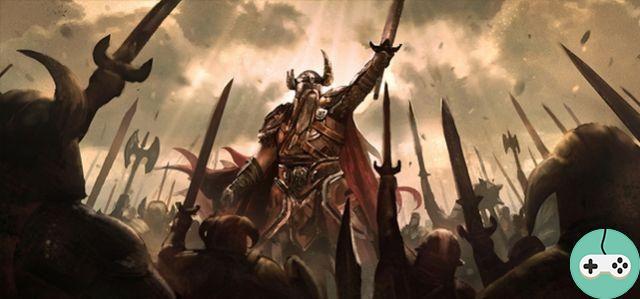
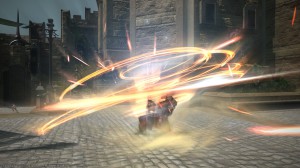
A warrior ready for battle
How do I become a warrior?
The warrior job is obtained by riding a marauder at level 30 and one gladiator at level 15. The warrior therefore logically has access to the shared class skills of the latter but also of the pugilist. Your quest giver will be Wyrnzoen as a marauder (Limsa Lominsa) then Curious Gorge from level 30 (Costa del Sol). You will have a quest every 5 levels. I advise you to do them regularly because some allow you to acquire new abilities.
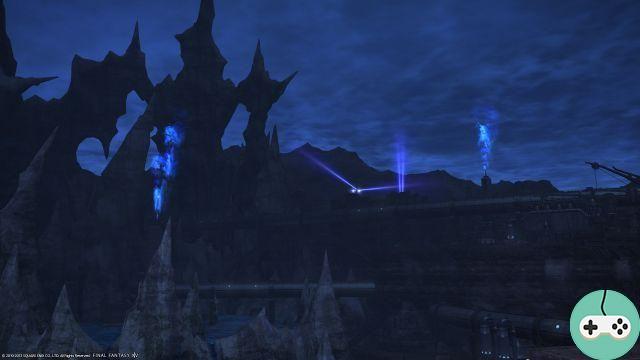
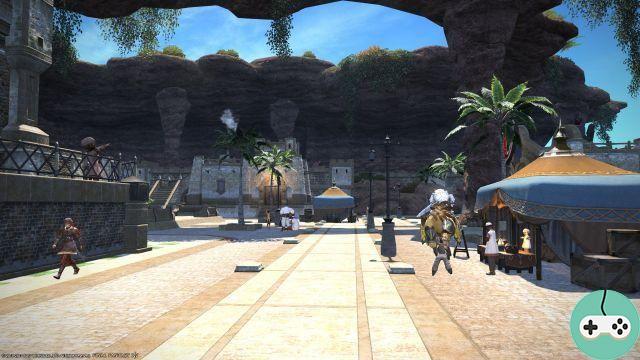
Curious Gorge under its waterfall, this image is not a cliché.
Anything else on leveling up?
In fact no, not much else. You can spend all of your ability points on vitality, the warrior is a cashing tank, ie he will take more damage than the paladin who can block attacks; on the other hand, he has a lot more life points. You may also consider putting your points in strength to increase your aggro. Since 2.1, aggro is no longer really a problem but this option is still possible. Anyway, I advise against scattering (spreading your points over several characteristics) or putting them in dexterity. Obviously you will need to orient yourself on the equipment that has the maximum vitality and if possible the parry.
If you are riding your first class, I have nothing more to add. If, on the other hand, you have already raised a class to the maximum level, do not hesitate to go to the dungeon. As soon as the search is launched, a group will be formed: the privilege of the tank! Regarding the taking of levels in ALEA, you must force on the Domination to hit a maximum of mobs in the group or even the Tomahawk throw if the monsters are more scattered.
This is all very well, but what are the techniques and traits that I have?
I will not come back to the list of actions and traits that are given in the Warrior presentation sheet. On the other hand, let's take a look at the talents that the pugilist and gladiator classes offer. Note in passing that these talents are available without their upgrades, which makes them a little less interesting.
- Gladiator Lv4: Savage Blade: Uninteresting, you already have everything you need to increase your enmity in single target.
- Pugilist Lv.4: Lightfoot: interesting talent, it allows you to have an additional defensive cooldown.
- Gladiator Lv.8: Flash: increases the enmity of enemies around you, this talent uses your MP and therefore allows you to relieve your stock of PT, to chain packs faster and make the healer moan.
- Pugilist Lv.8: Second wind: you instantly recover health, the power depends on your attack. A talent that can be useful at times and can offer an extra second of survival while waiting for the long-awaited healing to arrive.
- Gladiator Lv. 10: Convalescence: Healing effects are 20% more powerful. A very useful talent for saving your healers' MPs and / or helping you get back up after a big slap.
- Pugilist Lv. 10: Haymaker: power 170, inflicts slowness, usable only after dodging. Really very, too situational, and you have to count on a dodge. Still offers "free" damage, however, I do not use it.
- Pugilist Lv.12: Inner Slack: Crit chance increased by 10%, can be of some use in increasing damage, but his tanking interest is still severely limited.
- Gladiator Lv. 22: Taunt: Force the target to attack you, a must-have talent! Certain mechanisms force the tanks to exchange a boss, without this talent, it is the cross and the banner. Also allows you to recover a monster, or even pull from afar. Be careful though: the talent puts you right at the top of the aggro list but does nothing else, it is essential that you immediately mount your enmity on the target monster very quickly.
- Gladiator Lv. 34: Diligence: negates the risk of critical hits, frankly unconvincing, again very situational.
- Pugilist Lv. 42: Mantra: Increases healing spells on self and teammates by around 5%, can relieve healers, but I won't rank them as a must have.
You can only equip 5 at level 50. Be careful because when your level is lowered (during dungeons, ALEA, etc ...) you lose the possibility of using some of them, so be sure to put the lower level actions. leftmost in the corresponding menu.
So which ones to choose? I highly recommend Light Feet, Flash, Convalescence and Provocation. For the fifth, it's up to you. I don't really have any essential talent to offer you in fifth position. It's up to you to decide according to the fights, your style of play and the alignment of the stars.
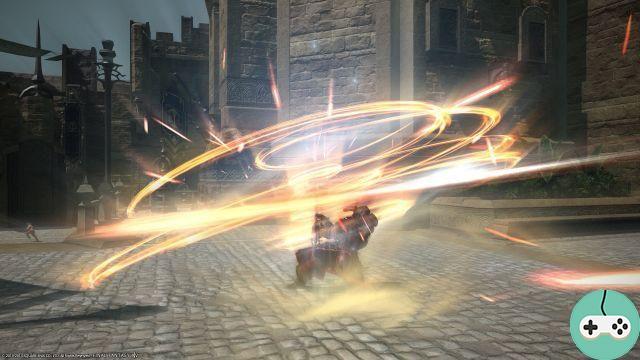
You must become a real iron cyclone.
Okay. And now that I'm 50, what do I do?
Tanking is above all about reactivity and situational awareness, although with the experience of your class and of the clashes, you end up anticipating certain things. I am therefore going to present to you cycles which are absolutely not to be engraved in stone but will have to be adapted according to the situations, the errors of your teammates and especially your own blunders. Either way, it's still the tank's fault.
The warrior has this in particular that in addition to the PT and MP (possibly), he must in addition to that manage another resource: his rage. Certain actions grant it and when you have accumulated 5 stacks (charges) you can trigger particular techniques. Additionally, each stack of rage increases your critical strike chance by 2%. That's good, but that shouldn't stop you from using them. Previously, we had to think about it because the healing buff received was also linked to these stacks. This is no longer the case, it is now permanent and linked to the challenge, so I repeat: we do not hesitate to use them.
Tanking multicibles
In my opinion the field of excellence of the warrior. If you are doing well, even a dark mage having fun casting Inferno under Furious Shot will not take aggro back from you.
Attack early on with Berserk, Retaliation, and Bloodbath. This should give you good aggro and 2 rage stacks right off the bat. A little Tomahawk and go! According to the arrangement of the monsters, either a Flash to attract them well on you, or to attack with the Domination if all are well in front. Do not hesitate to put behind one or two other dominations, then start to mount your combos by obviously using the one that generates the most enmity: Powerful blow, Skullbreaker and Butcher's block.
Here, it is important to insist on one point. Do not realize DO NOT the whole combo on a single target. Start by using the first two hits on a first, then select a new monster to land the third hit. Aim for a third monster to restart the combo but use the third hit on a fourth target or on the first if the pack only included three enemies. Repeat until death, yours or theirs. No need to drain your PT gauge by using dominance too much. In addition, moving from one target to another will allow you to check the aggro that your teammates have generated on each of them and to insist on those that a bad DPS (or healer) is trying to sneakily. to sting you.
As soon as you have 5 rage stacks, don't wait to finish the current combo, use the Iron Cyclone. The attack is omnidirectional and generates quite a bit of enmity. In addition, it does not break the current chain and allows you to resume the combo and therefore to chain immediately with one or two points of rage. When a mob drops below 20%, don't hesitate to use your Coup de Grâce either.
At one point or another, the effect of the berserk will cease resulting in the de facto condition. pacification preventing you from acting ... but not quite! Indeed, in this state, you can still use the flash, do not deprive yourself of it instead of watching the aggro slip through your fingers. Of course, it does no damage but generates about as much enmity as domination. Likewise you can use your defensive spells and even the finishing blow. Speaking of defensive spells, feel free to rotate them if you see that your healer is having trouble keeping you alive. There's no point in saving them for later. The good tank holds aggro, but above all it stays alive because its death entails the wipe and casts shame on the whole profession.
To start again on the next pack, start in the same way. If the berserk isn't ready, you can skip it and slam it along the way, or use Enrage followed by Emancipation. It will depend mainly on your aggro and that of your teammates.
A word still on aggro indicator, it is your best friend to avoid too late to notice that you have taken aggro back from you. Whenever you target a monster you can see in your party interface the aggro that you and your teammates generate. Below the icon representing each individual a small bar fills up as the aggro rises. If the bar fills up, the enmity generated will overtake yours and therefore the monster will escape you. To the left of each of its bars, the number indicates the position in the aggro list, C being the one who tanks the mob, that is to say normally you.

The enmity indicator, a friend for life!
Tanking in monocible
Here again, there is no aggro problem even if the paladin has to be given a slight advantage due to his higher resistance. So let's give him that and move on!
Here the pull will be done in the same way as in multi. So berserk, bloodbath and retaliation followed by a tomahawk sweater. Build up your aggro as quickly as possible by using the Butcher's Block combo once or even twice (watch the group's aggro bar). You can place a Fracture between the two combos or after the second. It will then be necessary to move on to the next combo: Powerful blow, Mutilation and Cleaver of justice. This is less effective in terms of enmity but has the double advantage of increasing the damage you inflict and reducing the damage that the target inflicts on you!
From there, the road is clear. You will need to keep the Cleaver of Justice debuff on the target at all times and use the Butcher's Chopping Combo the rest of the time. Also try to keep the fracture active at all times: its cost is low and it brings a little more dps and aggro, so why do without? Also, don't hesitate to use the berserk whenever he's ready and abuse the flash under pacification. Of course, if a particular mechanic requires you to be ready to act at certain times, know how to anticipate it and wait before using it.
Let's move on to the management of defensive spells. If the damage you take is constant, with no burst period, rotate your spells quietly as soon as they are ready, making sure that they do not overlap to “smooth” the damage as much as possible. The exception being the bloodbath which you can use as soon as it is recharged. Whenever you have accumulated 5 Rage Stacks, use Inner Beast. Its interest is not so much the care it gives you but the resistance to the damage it grants. In the event that the damage received is particularly trivial, replace the Inner Beast with the Postage to increase your DPS.
If on the contrary heavier damage phases are to be expected, reserve a large defensive spell for this moment as well as the inner beast. Its effect is very short, do not slam it too early ... nor too late!

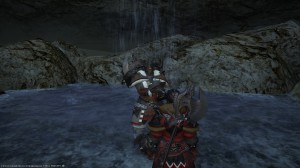
Let your inner Beast speak.
Offtankig
In those boring times when you're not tanking, drop the challenge (and its critical rate percentage but also its damage penalties) and finally find a use for your third combo: Powerful blow, Mangle, Eye of the storm. This combo has the effect of increasing your damage by 20% and decreasing the target's slash damage resistance by 10%. For information, your damage is sharp just like that of the paladin; you therefore increase the aggro generated by the other tank, do not hesitate to send him the invoice.
You can leave on the butcher's block combo, slightly more powerful than the Eye of the Storm but which also generates much more enmity: beware of unwanted aggro picks up! Otherwise, stay on the eye of the storm. Likewise be careful with the use of berserk. Finally, always be ready to challenge and tank in the event of an accident!
If the boss requires you to exchange aggro regularly, it is often better to stay under challenge to leave with a full life bar.
Anything else to know about the subtle art of slapping?
Here are a few tips and advice:
- Turn the monsters. All. All the time. They should be placed so that their backs are to the rest of the group. It is a good habit to take and it should become an automatism, whether the monsters have a cleave or not. When you need to dodge an aoe, reposition yourself immediately after. No need to wait for the aoe itself to go away, as soon as the area on the ground is gone, move back.
- Which brings me to the next point. Dodge the aoe! We don't stupidly stay in it. The healer will be delighted and so will you when you find that he is not running out of mana. When the AOE is fanned out, the quickest is often to pass through the enemy rather than to the side.
- Marquez your targets, especially at the start when you start out with relic DPS and are fresh out of 49. And even after that, it will allow you to focus on the one that is most troublesome for you or the party. If a DPS doesn't play the game, notify them once. If he persists, let him mumuse. Once he's dead, maybe he'll understand.
- When a group of watches has one or more Magi, it can be painful to keep the aggro on everyone while running around the room. After the pullover, go and hide at an angle, in a crevice, where you want but out of their line of sight, they will follow you and come closer to see you.
- Some spells and actions can be interrupted by Brutal Swing, try it regularly to test what can be interrupted. Be careful, if it can be launched at any time, the effect itself will only be triggered if the animation of the previous attack is finished. Also note that monsters become immune to interrupts if you abuse them.
- Some monsters interrupt their casts when you pass behind them, take advantage of it!
- If you are under the effect of recuperation, extra medicine or any other ability that makes you regain HP periodically, the monsters will run straight for your healer. The solution ? Right click on the offending ability in your buff bar and it's good.
- Le targeting of the game is peculiar enough to be polite. When you tank a group of mobs, orient the camera in such a way that you only see those of the group in question, otherwise the tab will select the one who walks at the bottom without asking anything of anyone. You can also select the monsters with the mouse.
- Learn to read and use enmity indicators.
- Be careful with the use of the Holmgang, it can save your life but also immobilizes you on the spot. If it was necessary to run, it was a failure.

How to link together without getting married.
Okay, I read it all. Can I finally have my awesome gear?
Yes and no. There is very little to consider when upgrading to a higher gear tier. If the ilvl is higher than the one you currently have, go for it. However, be careful with precision if you want to tackle the labyrinth of Bahamut. The cape of precision exact varies depending on the source, but you should never go below 470 to limit misfires. Aggro would not suffer too much, but the risk would be to have to start from zero on a combo or miss an inner beast for example. As such, pay particular attention to the Crystal Tower set tank, you will be far from the precision course if you equip yourself with everything. Do not hesitate to resort to food to compensate for a slight lack. Conversely, as far as possible avoid having too much precision. These stats would be "lost" and better invested elsewhere.
I am offering you BiS equipment here. It is quite possible to exchange the Allagan weapon for Zenithian bravura for example, but you will then have to change the jewels for example to compensate for the lost precision.
- http://xivdb.com/?wardrobe/8234/Warrior
You are at the end of this guide, thank you for reading it and do not hesitate if you have any questions via the comments or if you have any clarifications or corrections to make.