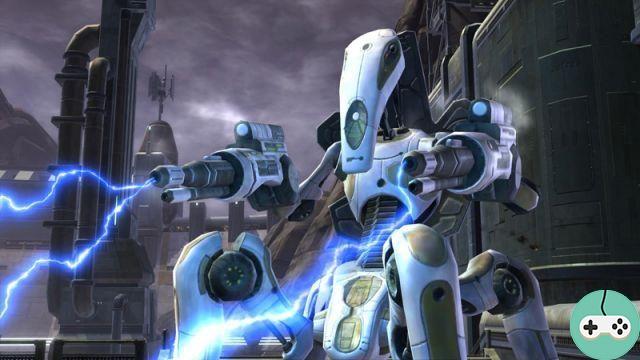
I am Maxcraft83 (aka Arkay-kun in-game) leader of the PVE The Last Order guild on the Darth Nihilus server. I therefore offer you this little tutorial written and filmed of Directive 7 in difficult mode. In this guide, I will only detail the bosses of the instance (so anything that is trashy mobs or bonus quests will not be there).
Presentation
Normal mode: 48 levels
Hard mode: level 50
Mentor's Assassins (Beta, Theta, and Zeta)
Time on video: 1:54
Health points: around 101k for each of the three elites
So these are three droids that you will have to face in the first place, three elites more precisely. They have two shields that they will exchange throughout the fight, you will then have to switch (= change) droid as soon as the kind of blue or orange veil begins to revolve around the droid. However, be careful that the tank takes all the damage, it happens that the healer takes some shots which can weaken him very quickly depending on the equipment he is wearing. Do not hesitate to announce on the chat (or on your voice server) the moment when it is necessary to change mob. Otherwise, you can lose a lot of damage and risk spending time on these three elites for nothing.
Drop: A blue-grade implant accompanied by Zionist Crystals and Daily Honors
Interrogator
Time on video: 3:04
Health points: around 108k (on top of that, the health points of adds)
We continue with the Interrogator droid, a huge probe droid. He does not move at all, his only particularity is that he scans a member of the group, to reproduce his double as a cyborg (a kind of droid version cloning in fact). This scan is announced on your screen, in red.
Your fellow robotic version will not be very friendly with the members of the group: as soon as he appears in the columns to the right and left of the boss, he will have to be killed. From the moment he appears, do not take care of the boss, he is invulnerable to attacks until you deactivate the clone-droid.
This phase repeats several times and I believe it depends on the damage done by the group (to be confirmed).
Drop: An artifact-grade relic, plus two Zionist crystals.
Rampart
Time on video: 4:00
Health points: about 300k
Bulwark is a gigantic droid, but that doesn't mean he'll do you a lot of damage.
First, the tank flips the boss over to position himself against a wall. Why will you tell me? Quite simply because the boss bump (makes you flutter) and it is not very pleasant to go to the other end of the room, knowing that one of the members of the group may take up aggro while the tank tries desperately to return to combat.
Then, the two dps will destroy the consoles located to the right and left of the boss (one for each console is enough, no need for both to rush to the same). They need to stay close enough to the consoles they've destroyed previously, to be within range of the boss (or keep an eye on them if they're Contact DPS).
These consoles are used to give a shield of protection to the boss, thus making him invulnerable to all your attacks. Throughout the fight, Repair Droids (similar in style to R2D2) will arrive and attempt to repair these consoles. The dps must take care of it at all costs to prevent the boss from recovering his shields.
This phase is repeated several times and it also depends on the damage done by the group (there will be less phase if you drop it quickly, this still remains to be confirmed, I'm not 100% sure).
Drop: Two Zionist Crystals and a Columi Implant
Fitter (avoidable)
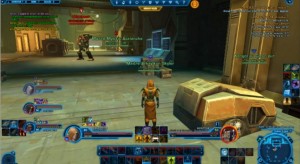
Time on video: 5:20
This boss doesn't give anything interesting, so I advise you to avoid it. If you ever enter into combat with him, you have two possible strategies: either you destroy the two turrets (elites) first (because it is they who do you the most damage, you must not forget to interrupt their fire ) or you do not take any risks and you will hide behind a box (see the video) so that the turrets do not touch you and the boss arrives right at your feet.
Mentor (Final)
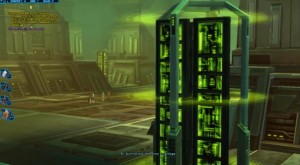
Time on video: 6:56
Mentor is a phased / stage boss.
First stage
Two turrets will appear, the two DPS as well as the tank will take care of it one by one, while the healer stays behind the group so as not to take damage while healing his companions. You also have to be very careful with the red damage zone that targets the healer in general (if this is not the case, the one who is targeted moves away from the group so as not to inflict additional damage).
Second step
The group separates: the tank will take care of the giant droid champion, the two DPS will destroy one of the four green pillars (in this regard, destroy the pillar as a priority rather than the two small turrets, you can only destroy this pillar for a short time) and the healer stands between the two groups, within reach of his companions. You will also have to pay attention to the green and red areas of damage that appear all over the room.
Once the pillar is destroyed, the DPS join the tank and destroy the electrical circuits of this huge heap of junk.
The first step is repeated twice (to be confirmed) while the second is repeated four times (the number of pillars).
Third and last step
All you have to do is destroy Mentor's circuits. But watch out for who the green beam is targeting: he may take a lot of damage, so the healer will have to stay behind him until the Mentor's last motherboard is out of service.
Loot: Crafting Blueprint, Zionist Crystals, Rank 7 Crafting Material, and Columi Leggings.

In conclusion, we have an instance that is neither too long nor too fast, it's perfect for those who want to start equipping! Bosses don't do a lot of damage (as long as you stick to the strategy, normally everything goes very well). But beware of those who are suffering from "Droidophobias": there are only machines to destroy in this instance!


