


After having with difficulty, or not, defeated Malaphar the Savage, you will be entitled to a new difficulty: The Sword Squad. We are therefore going to explore one of the possible strategies in order to defeat this boss in 8 player hard mode.

Description of the fight
This boss is made up of two walkers who have their own attacks. The strategy we will explore is to drop one of the walkers below 50k HP but without killing him! Then it will be necessary to fall the second walker at the same level then to remove the shields which protect the unit 1 in order to finish them at the same time.
Health points of each unit: 2 677 024
Fight time before enrage: 6 minutes
Combat Abilities
- Unit 1
- Unit 2
- Aiming droid
Instant fire: Attack targeted at the person with the highest threat. Successively places several blue areas on the ground that inflict heavy damage after a short period of time. Potentially fatal.
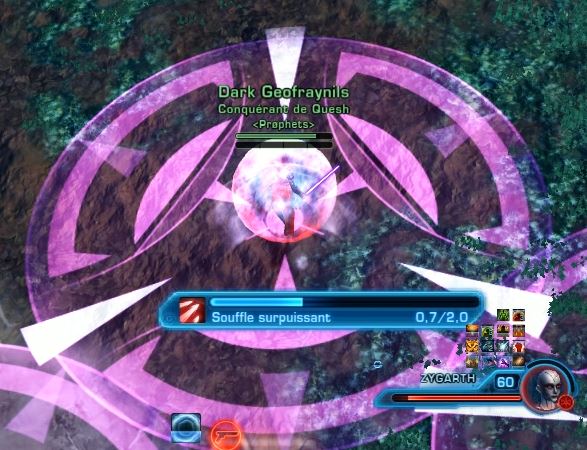
Overpowered breath : Channeled zone attack. Deals high damage.
Granada: Places a grenade with a very large area of effect on a player. This grenade deals medium area damage after a few seconds. Stuns players in the area of effect upon explosion and produces a cloud of smoke that impairs visibility (regardless of your graphics settings).
Shield: unit 1 gains a shield that absorbs 100% damage.
Missile Rain: Launches a series of falling missiles that deal damage to all players within an area of effect of approximately 5m. Targets all group members at the same time. 3 missiles per wave and per player. Average damage.
Gravity missile: Send a missile in the middle of the two walkers. This missile has a gravity field that draws players to it after a short time. It also creates an area effect on all players which will explode 4 to 5 seconds later. Significant damage, the circles can overlap but must in no case be found under the feet of your comrades.
Missile : Purple damage zone targeted at Unit 2's tank. Potentially fatal.
Explosion missile on the ground: Red damage zone dealing high damage. Randomly target 3 raid members. Potentially fatal.
Ranged attack: Deal single-target damage to the target with the most threat. Minimal damage.
Concentrated targeting: Channels a power forcing Unit 1 to attack the designated target (usually on the tank).
Course of the fight
This boss has timed mechanics, meaning that each event can be predicted down to the second. We will see this timing for a few of these events.
- Bouclier
- Grenada
- Instant fire
- Gravity missile
- Rolling mines
The shield appears after 30 seconds of fighting and then again every minute.
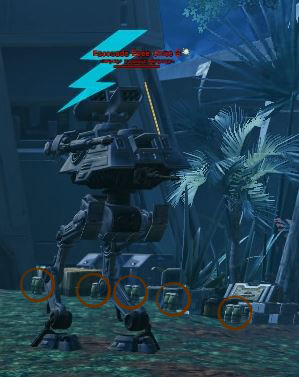
This shield absorbs damage, so you will need to remove it as soon as possible. Unit 2's tank will be ideal for this role. To do this, he will have to go to the far right of the room to take a bomb and take it below unit 1. The powers cannot be used while the bomb is being transported. The journey from Unit 2 to the bomb plant under Unit 1 takes approximately 15 seconds. Here is the location of those bombs.
The first grenade targets a player after 20 seconds. The following ones arrive regularly every 30 seconds.
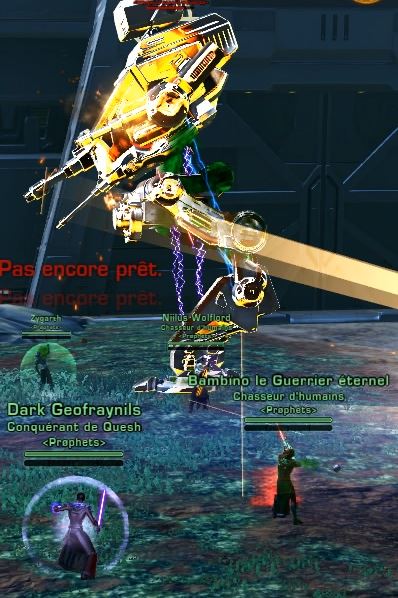
The targeted player will have to move away from the group so as not to stun their friends or inflict unnecessary damage on them. Also, if you have a gravity missile at the same time as seen in the image above, it is more than advisable to activate a defensive power at the same time. Warning: after this grenade, it is advisable to move quickly in order to avoid a missile potentially masked by the cloud of smoke that follows the explosion.

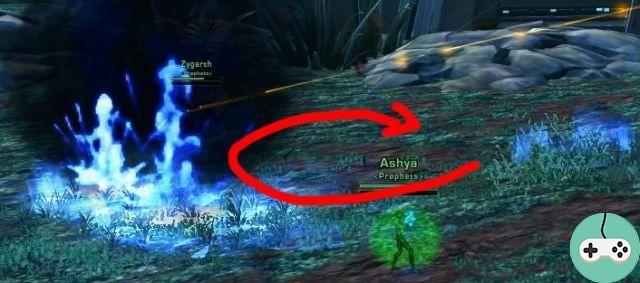
Instant Fire normally targets Unit 1's tank every 25 seconds. It is a series of blue damage zones that must absolutely be avoided. For that it will be able to carry out a circular displacement like this:
The gravity missile lands in the middle of the two walkers and attracts raid members except those targeted by the grenade and instant fire. One occurrence every 40 seconds.

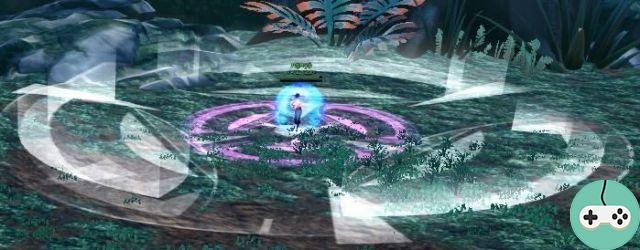
After this movement, all members will see a circle growing around them. Once the maximum size is reached, you will suffer an explosion dealing heavy damage. This zone must not be combined with that of your neighbors, for this the circles can be superimposed but must not be under the feet of the others. A specific placement is necessary.
Rolling Mines spawn every 45 seconds and deal medium damage after detonation. Move towards a player. 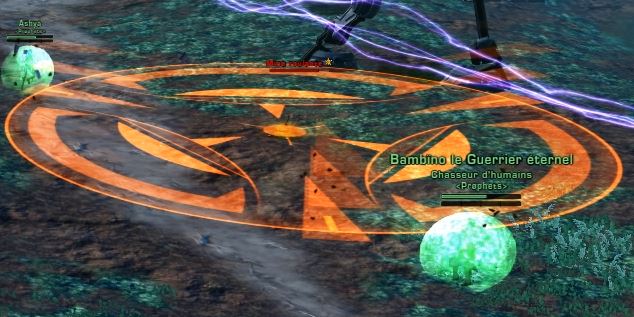
Finally here are the two schematic positions that your players must have within a few meters:
- Normal phase unit 1 :

- Normal phase unit 2 : Identical to unit 1 but the DPS are placed close to unit 2.
- Gravity phase : as a reminder, the circles can be superimposed but must especially not be under the feet of your neighbor.
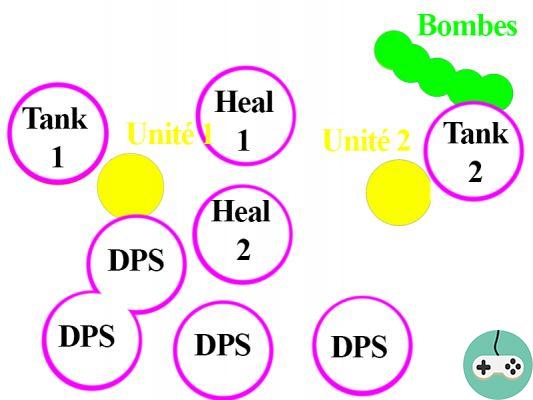
These positions are not quite fixed to the millimeter. You will of course have to adapt to your composition and the distance you can cover.
Additional tips
It is possible not to destroy the first shield of unit 1. One bomb destroys two shields, so you can start by hitting unit 1 for 30 seconds and then switch to unit 2 the next minute before destroying both. first shields.
If this strategy is a problem for you and your DPS is struggling to keep from killing Unit 1 in the middle of a fight, then consider having them switch targets every now and then and dropping both walkers regularly to the same level. of life. However, this will require more mobility from the latter.
Booty
- 1 Headset 198 token
- 1 piece 198 Hors-Set
- 2 exons.
- 6 Ultimate Honors.
- 8 Elite Distinctions.


