


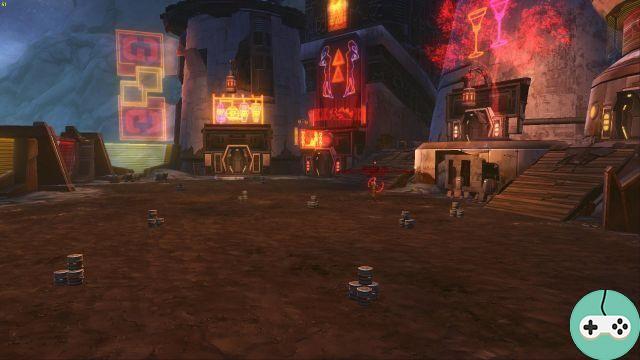
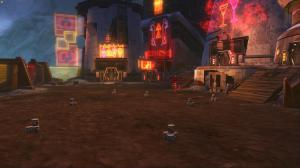
We thus find ourselves with the second boss of the operation "the Ravageurs", the intendant Bulo. This boss is the first that could be a problem for guilds who are not very familiar with operations.
Mechanics and attacks
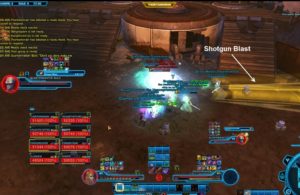
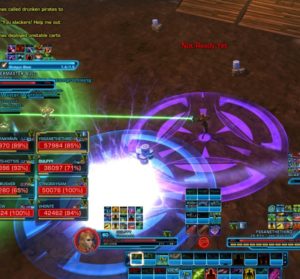
The attack to be most careful of is the Cartridge shotgun shooting. It's a cone attack, which is tenable for a tank but hurts a lot of DPS. However, this boss has a rather particular aggro mechanism. Indeed, it changes target during this attack on the second player who generates the most threat. Ideally, this person should be the second tank and the attack should only be on him. You must therefore be careful not to be behind one of the tanks. After putting a shot, it goes back to the main tank before going back to the second and so on throughout the fight.
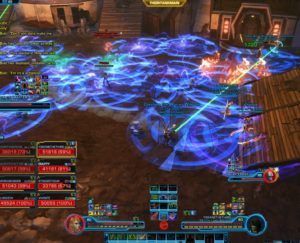
The second attack which can be fatal to the group is Mass dam. During this attack, each member of the raid will successively place 5 blue zones. These areas hurt a lot if you stay in them but there is plenty of time to get out. The best way so that it does not become hell is to disperse around the room by assigning placements (otherwise you are free to do it improvised, it just requires a little more responsiveness and attention) A trick to save as much space as possible is to put down the first zone, shift and wait for the second to pop. At this point, you can go outside and start laying the areas normally. To save time, you can also place the areas where the adds appear (more on this below).
During the whole fight, Bulo uses the attack Barrel throwing. It's a single target attack (even if it leaves an area of flame behind that doesn't do any damage) that hurts quite a bit (between 15 and 18k). It looks like a mini nuclear explosion. You can't avoid it (unless you can slam a CD at the right time but good luck ^^).
In addition to the Mass Dam, a person will have a purple area around them which, when they turn blue, will attach to the ground. The damage in this area is significant, so avoid staying in it or bringing it near the raid. The purple zone doesn't last very long, but it's useful for the adds mechanic.
Bulo also moves randomly several times during combat but always near one of the adds spawn points.
Adds
Montes-charge : During the fight, freight elevators appear and target a person in the raid. This person must move away and must detonate the freight elevator in his corner to avoid hitting the raid since by exploding it does area damage. In 8, there is only one freight elevator appearing at the same time so it doesn't hurt too much. However in 16, three freight elevators appear at the same time and it becomes much more tense.
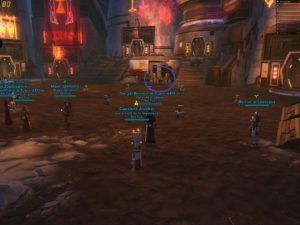
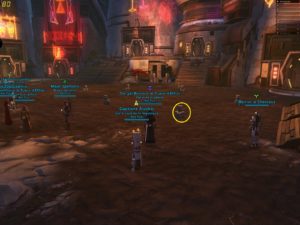
The Pirates : Several times during the fight (every 45 seconds, from 20 seconds of combat), adds will appear in groups of 4. There are three spawn locations and the adds always appear closest to the boss.
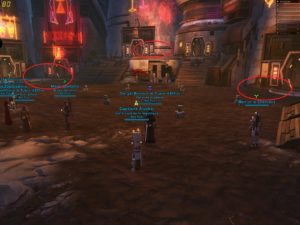
When they spawn they are in remote mode, they don't move and usually shoot healers. At this point, a person in charge of this work, usually a DPS although a tank can do it but it requires to be more careful with its placement, has to go and get a barrel of Corellian brandy, which are laid out in the room.
When the person is carrying a barrel, there is nothing they can do, so the healers have to be careful with their life. You then have to go to the body-to-body of the add-on pack so that they follow you like little dogs ^^. You have to make them cross the damage zones to kill them instantly (avoid crossing it yourself, your healers would not appreciate it). If a Mass Barrage approaches, you can take damage from the adds and kill them with those areas there.
Conclusion
This boss is not very complex once the strategy is known, but it still requires a much higher level of healing than the first boss.
Photo credits (for some): Dulfy


