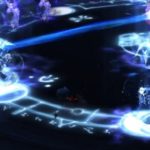
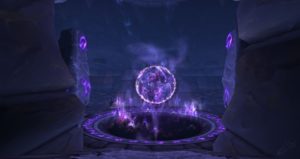
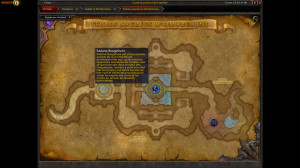
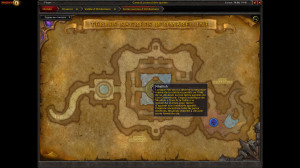
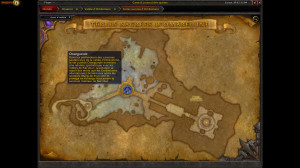
The Shadowmoon Sacred Lands instance is a level 100 dungeon located in Shadowmoon Valley. The Sacred Lands are the final resting place for generations of Shadowmoon clan ancestors. But in his madness and depravity, Ner'zhul, the chieftain sacrificed the soul of his clan to feed his thirst for power. The sacred lands are now a dangerous and troubled area.
There are 4 bosses to defeat and the equipment to collect is level ilvl 615 in normal difficulty and 630 in heroic difficulty.
Boss to defeat
- Sadana rougefurie
- Nhallish
- Ossegueule
- Ner'zhul
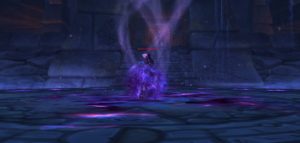
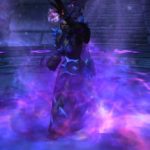
Sadana is a sidekick of the Shadowmoon clan who followed Ner'zhul when sacrificing the souls of their ancestors. We face him in a ritual circle.
Techniques
- Death Peak: Sadana has a chance to get three melee attacks that deal shadow damage after a successful melee attack.
- Dark communion: Sadana draws a spirit towards her and consumes it if it is close enough. In this case, the spirit restores it to life and increases its damage.
- Dagger: Sadana spawns a dagger above one of the players. When it falls, the dagger inflicts damage and burns the surrounding characters.
- Whispers of the Dark Star: Sadana deals damage every second to all enemies.
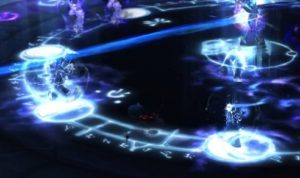
- Dark Eclipse: Sadana channels a spell that inflicts lethal damage to all players and corrupts lunar runes on the ground.
- Lunar Purity: Players on moon runes during Dark Eclipse take less damage.
Manage the fight
Tank
- Be prepared to take repeated damage from Sadana while under the effect of Death Peak, whether on absorption spells or defensive spells.
- Tank Sadana to the edge of the platform so that the summoned spirits travel further to reach her.
- Move Sadana from the Daggerscrew areas if necessary.
- Change the target for the spirit when Sadana channels Dark Communion.
- Use immobilizations or stuns on the spirit during Dark Fellowship.
- Obtain the Moon Purity effect by standing on a Moon Rune during Dark Eclipse.
DPS
- Use Heroism, Temporal Warp, or Blood Fury at the start of combat, this way the spell will always be active for the first spirit.
- Ranged DPS should stand along the platform so that the Daggerstrike areas don't clutter up.
- All DPS must change target for the spirit, using control spells (stun, immobilize, slow).
- Obtain the Moon Purity effect by standing on a Moon Rune during Dark Eclipse.
- Melee DPS don't need to stay on a moon rune, they just need to hit one and then hit the boss.
Healer
- It's a heavy fight requiring a lot of tank healing and group healing.
- Use damage reduction spells during Dark Star Whispers.
- Get out of the Dagger Shoot areas.
- Obtain the Moon Purity effect by standing on a Moon Rune during Dark Eclipse.
Heroic / Challenge
There are no new mechanics but killing Desecrated Spirit before Sadana heals herself becomes more difficult and requires coordination, as well as the use of stuns and traps.
In addition, while there is only one Dagger Shooter in normal difficulty, there will be 2 in heroic mode and 3 in challenge mode. This will require a real investment strategy.
Booty
Sadana Bloodfury can drop a left hand (Sadana's Macabre Face), cloaks, and necklaces. The full list is available at this address.
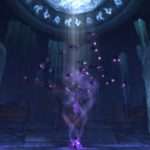
Nhallish is an evil spirit freed when Ner'zhul broke the border of the real with the Void. From now on, Nhallish roams the Holy Lands, wanting to devour all life.
Techniques
- Planar Transfer: Nhallish teleports to a player.
- Void Vortex: Nhallish creates a vortex that draws players to the center.
- Void Bolt: Nhallish casts an energy bolt that deals good damage every second.
- Void Devastation: Nhallish channels magic traits.
- Soul Steal: Nhallish rips players' spirits from their bodies and inflicts damage on them until they have recovered their souls.
- Soul Shroud: Inflicts damage every second to soul stripped players.
- Soul Found: Effect that applies to players who have found their soul in less than 20 seconds. Recovering Your Soul increases the damage and healing you do for 20 seconds.
In the room where we face Nhallish, there are ghostly residue scattered around. By stepping on it, you trigger an event that summons a hostile spirit.
Manage the fight
Tank
- When Nhallish casts Void Bolt, cast an absorption spell or a defensive spell.
- Move Nhallish outside of Void Devastation areas of effect so melee DPS is not inside.
- Quickly kill your Possessed Soul and Search it to find your body quickly enough and to benefit from the increased damage.
- Avoid triggering the appearance of hostile spirits.
DPS
- Ranged DPS must move aside for Planar Transfer and Void Vortex to hit minimal players.
- Stay away from Nhallish when he uses Void Vortex, even using a bonus to movement speed.
- Use a personal damage reduction spell when fighting your soul.
- Quickly kill your Possessed Soul and Search it to find your body quickly enough and to benefit from the increased damage.
- Exit the Void Devastation areas of effect.
- Avoid triggering the appearance of hostile spirits.
Healer
- It is more profitable to kill your possessed soul than to wait until the end of the timer while healing yourself.
- Use large spells (CDs) upon exiting Soul Veil, as all players will be low on life.
- Use group and damage reduction spells during Void Vortex.
- Exit the Void Devastation areas of effect.
- Avoid triggering the appearance of hostile spirits.
Heroic / Challenge
There are no new mechanics in these challenge modes but it becomes vital to avoid the Void Vortex as the Healer will be busy bringing the party up due to the damage from Soul Veil.
Booty
Nhallish drops a Trinket and Polearm (Nhallish's Bloody Polearm), a Necklace (Dark Eye of the Void-Healer), as well as Bracers and Chest Pieces. The complete list can be viewed at this address.
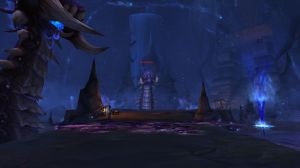
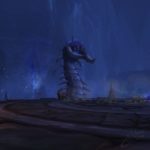
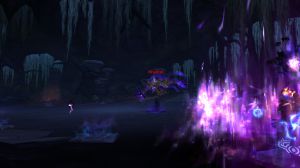
Ossegueule is a giant worm that defends the entrance to the Sanctum of Ner'zhul in exchange for food, the corpses delivered by the Shadowmoon clan. He is confronted on a raised platform in a room filled with water.
Techniques
- Necrotic Pitch: Bonemaw spits pitch at one of the random players, inflicting damage every second and slowing movement speed.
- Corpse Breath: Ossegueule deals damage every second to all enemies.
- Foul Spit: Bonemaw spits at its current target and deals good damage. If Ossegueule has no melee target, it spits uncontrollably.
- Tackle: Ossegueule throws forward and deals damage to players in front of him, in addition to knocking them down.
- Inhalation: Bone Maw inhales enemies harder and harder. If a player is caught in his mouth (so sucked in too much), this player suffers enormous or even fatal damage and gets kicked from the platform.
Manage the fight
Tank
- Avoid the tackle technique.
- Stay in Necrotic Pitch during Inhalation to gain immunity.
DPS
- Avoid the tackle technique.
- Stay in Necrotic Pitch during Inhalation to gain immunity.
- Ranged DPS must be close to Ossegueule for Necrotic Pitch areas to appear close to tank and melee DPS.
Healer
- Avoid the tackle technique.
- Stay in Necrotic Pitch during Inhalation to gain immunity.
- The party takes heavy damage during Corpse Breath and Inhale so be prepared for these phases.
- Use damage reduction spells or increase your healing during Inhalation.
Heroic / Challenge
After the first Inhalation, the two Putrid Worms fought on the bridge join the fight, spawning to the right and left of the bridge. These worms have two notable abilities:
- Tackle
- Foul spit
Their health is very low but the damage inflicted is high. We must therefore kill the worms very quickly by focusing on one worm after another. Now is the right time to use heroism. The tank can come and take care of the currently targeted worm to avoid additional damage. The healer must be reactive because the damage is important and random. After the 3 Tackles (which triggers just after the 2 worms appear), the healer will have to use all of their damage reduction CDs.
It will be necessary to manage the Inhalation while the worms are there. It is important to drop the Necrotic Pitch near the currently killed worm to prevent the group from getting stuck in the Inhalation.
Booty
Ossegueule will leave on his corpse a bow (Long bow in tooth of bone) and a jewel (Big toe of Ossegueule) but also belts and gloves. The complete list is at this address.
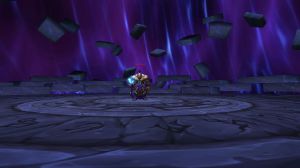
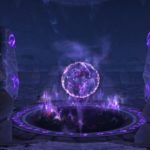
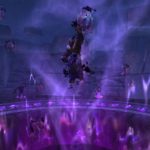
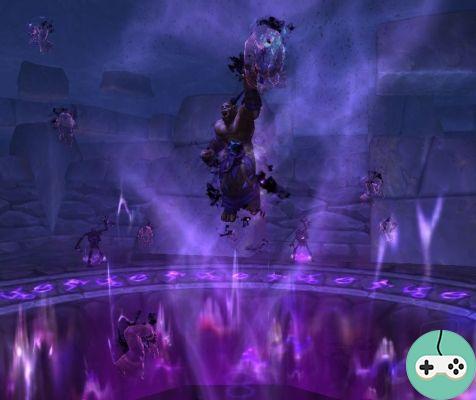
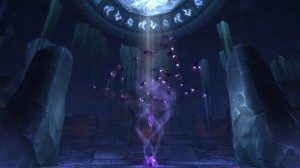
Ner'zhul is one of the warlords, and one of the Shadowmoon clan. He sacrificed the soul and heart of his tribe in order to join the Iron Horde. He then retreated to the sacred lands of his clan and devotes himself to the arts of the Void. Players face him in a pretty psychedelic sanctum.
Techniques
- Malice: Ner'zhul unleashes a wave of energy that wounds all players in the path. Players hit by the spell deal half the damage.
- Harbinger of Death: Ner'zhul goes into a trance and offers players a vision of their own death, then Ner'zhul unleashes a beam of energy that deals damage based on our distance.
- Ritual of Bones: Ner'zhul summons an army of shadows. The spell crosses the central platform and kills the players there. The spell also deals damage every second to those who pass through tendrils.
Manage the fight
Tank
- Make sure Malice doesn't target your group, so put yourself on the side. Avoid the spell when you see Ner'zhul casting it.
- Move Ner'zhul from Omen of Death areas to minimize the damage you take.
- During Ritual of Bones, tank Ner'zhul opposite to his spawn location in the room.
- Once the Ritual of Bones is broken, ensure that other players return safely to the combat zone and reposition yourself for the Malice spell.
DPS
- Use Heroism, Blood Fury, or Temporal Warp at the start of combat to cover the first Ritual of Bones.
- Ranged DPS should be placed at the edges of the combat zone so Omen of Death does not encumber melee DPS or the center of the room.
- Exit the Omen of Death zones.
- During Ritual of Bones, target Ritual of Bones (monster) and kill it.
- Melee DPS should be careful not to enter the Ritual of Bones spell area, while targeting and dealing damage.
- After breaking Bone Ritual, go through the safe area and move back to Ner'zhul's side of the tank to avoid Malice.
Healer
- Party damage is high during Omen of Death, and when players pass through Omen of Death at the same time as hitting Ritual of Bones (monster).
- Use damage reduction or increased healing spells during Ritual of Bones.
- Damage to the tank can be very high, especially during Ritual of Bones.
- Exit the Omen of Death zones.
Heroic / Challenge
There are no additional mechanics in these difficulty modes, but the positioning of the Omen of Death is important because this spell deals more damage. Additionally, the amount of damage required to break Ritual of Bones increases dramatically.
Booty
Ner'zhul drops a Dagger (Ritual Blade of Ner'zhul) and a Staff (Portal Ripper Staff), three head pieces, rings, and boots. You can consult the complete list at this address.