


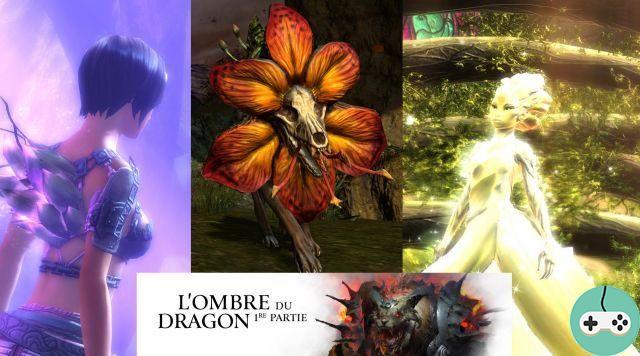

The presence of Mordremoth is felt more and more, his corruption extends to Ascalon! We must reunite Tyria to face the dragon.
Summary :
- Rendezvous with the Light Tree
- The Iron Swamp needs help!
- Convince the Arcane Council
- Convincing White Bear Knut
- Convince the Imperator Smodur
- ►Succès
Rendezvous with the Light Tree
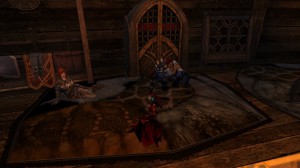
It all starts with a message from Kasmeer, we have an audience with the Clear Tree. Go to the top floor of the Grove and enter Omphalos' room.
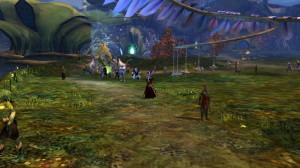
Speak with Kasmeer, Rox, and Braham, then speak to the Light Tree. You will inform him of the extent of Mordremoth's corruption, the mother of sylvari will then decide to receive the summit of the rulers of Tyria at the Grove.
Each companion will go to his city to convince his leaders to take part in the summit, which is not a given.
At the end of the interview, Taimi sends us a message: the dragon's corruption has taken root in the iron swamp, we must go there immediately. Teleport to the waypoint in the village of Scalescale.
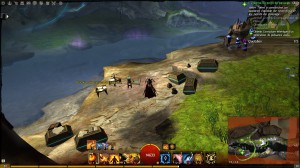
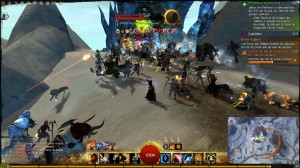
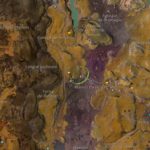
The Iron Swamp needs help!
Charr in the area are having some trouble containing the invasion of plants. To help them, it will be necessary to do the events near them. Follow the green star to know their positions.
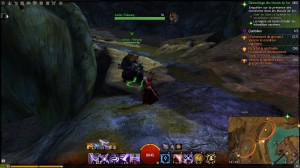
Meet Aelius Videsang at the entrance to the village. The event is to kill the Stoner, a corrupted envelope. When his shield is active, he is immune to all types of damage and tendrils of the jungles come out of the ground. Kill them all to break the shield and start hitting it again.

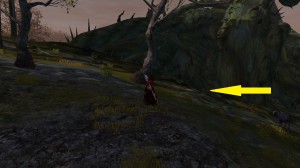
Once that's done, Aelius will send you to help Brutus Snatch. It is hidden between two huge roots. He will give you a Corrupted Seed which will be useful for crafting a Back Item.
Go see Taccius Fleaaurage, his companions are trapped in thorny vines, we will have to get them out of there. Be careful, when you have a red penalty with chains, do not confuse it with immobilization, because, when it will disappear, you will be trapped in a cocoon of lianas. To remove this penalty, dodge.

The last charr to help is Scout Viveflame. Your mission will be to kill a wolf biting further south. Eliminate the waves of small mordrem wolves that will arrive, then kill the veteran wolf. Nothing difficult.

Now that the area is a bit safer, head back to Scalescale Village to report the situation.
This is when Taimi sends us a new message as she needs our help to occupy a Rata Sum advisor.
Convince the Arcane Council
The council is reluctant to attend the summit, they need proof that Taimi's invention actually works and can fix the waypoint problem. Zojja managed to convince one of the advisers to observe the machine at work. However, Taimi hasn't finished it yet and the advisor is losing patience.
Go to the sparkling-light caverns near Omadd's machine.
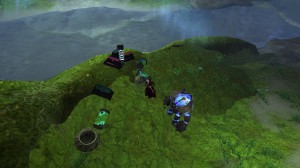
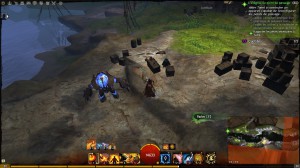
We will have to recover the last pieces necessary for the construction of Taimi's device, the recalibrator. Three components are to be found with the help of Piteux.
We have control of the golem, it has 2 main functions: follow us or defend us. Knowing that if he fights, he will not move once the enemies are dead. Do not hesitate to talk to him to change mode when necessary.

Use Pitiful detection mode to locate items to retrieve.
The first is a liquid, a little unstable. To avoid dying, talk to the golem and strengthen its structure then take the fluids.
The second item is an Etheric Power Generator Armature. You have to proceed in a very precise way to remove the frame, otherwise you will die in the event of an error.
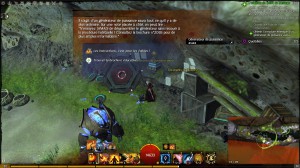
Read the explanatory brochure to know this procedure. Otherwise, here is the summary:
- Turn off the generator
- Open the generator cover
- Disable the etheric field
Granted, that's pretty logical ... Once you have it, continue to the back of the cave near the crates.
Thanks to the Piteux detection function, it is not necessary to open them all, the correct one will then be indicated.
When you have the 3 components, return to Taimi and attend their discussion. As the network of waypoints is vast, it will take time to recalibrate all sensitive locations. During the operation, Kasmeer returns with news: Queen Jennah agrees to come to the top! And a !
Now it is Braham's turn to need our help.
Convincing White Bear Knut
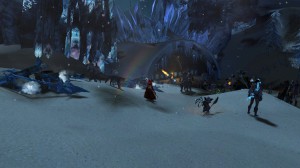
Let's go see Eir at her place, Braham is already there. The norn already have an ancient dragon on their arms, Jormag; she will have to be convinced of the urgency of the situation, so that she herself can speak to Knut White Bear.
A plan is decided: reduce the threat of the sons of Svanir. A group of dragon minions corrupts the norns, we are going to have to destroy their totem pole.
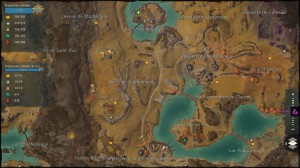
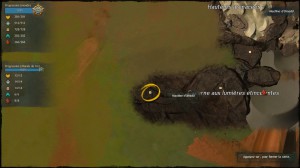
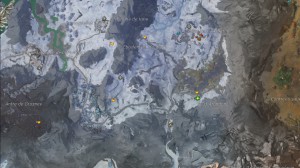
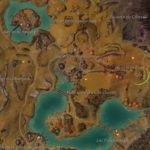
Go to the strait of the frozen gorges, in the Val d'Arudon to meet Kaolin. She will give us more information on the plans of the watchmen leading the assault. Here, several successes are to be achieved, take a look here to see them.
You will have to escort a caravan of dolyaks with the watchman Fenris to blow up the door of the Frozen Peaks. Hordes of Svanir's sons will try to stop you, hold on! If all 3 dolyaks are still alive, you will have a success!
The caravan will pass by the watch of the snake, it will be necessary to capture and control it.
Then the dolyaks will arrive, protect them up to the gates.
When the gates are destroyed, punish the shamans for worshiping the dragon, they are veterans at first. When all 3 are defeated, they will change into Ice Shaman and become Champions.


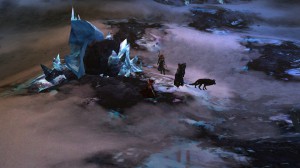
When the event is over, destroy the totem pole in the center of the village. You will then have access to an instance with Eir and Braham.
Convince the Imperator Smodur
Rox will be the last companion to help. She needs our support to face Rytlock's wrath (remember he gave her the mission to kill Scarlet, and we completed it). Follow the discussion between them then speak to Rytlock.
To alleviate the threat of Ascalon's ghosts hanging over the Black Citadel, he wants to conduct a ritual to lift the curse of the firebane, thanks to his sword Sohothin, Magdear's twin, the sword of King Aldelbern, and the king's crown.
Unfortunately, the crown was broken into 4 pieces. Rytlock has a fragment, thanks to him we will be able to find the others.
- The first is at the Diessa plateau, go to the Nolan crossing point.
- The second is in the steppes of the blazing streak, at the crossing point of the Sanctum refuge.
- The third is in the Iron Swamp at the Hellion Crossing Point.

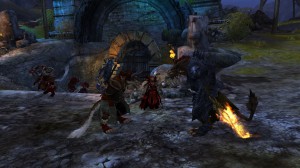
Take the 3 fragments to the tribune in front of Duke Barradin's crypt. Imperator Smodur is waiting for us there. Here you are to complete the ritual, go down into the crypt to the back.
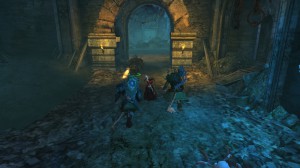
The disgruntled ghosts will take possession of the statue of Duke Barradin and the fight will break out. Focus on the boss, there's no point killing the ghosts around, they'll respawn anyway. This boss has some rather annoying abilities, plan for stability. When a large orange area comes in front of the statue, get out of there or dodge, he'll knock his hammer down and push you back.
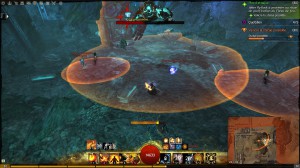
At times, smaller areas appear with totems that inflict fear as soon as you enter the area. It is possible to destroy them, but I do not recommend it, it would waste more time than anything else, just avoid them.
Other areas of medium size will fill the room, it is rock falls that will throw you.
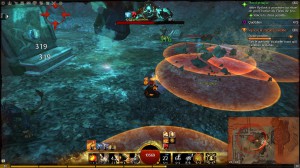
Remember to avoid the spectral flames, they are blue fireballs rushing at you. They do a lot of damage and they throw.
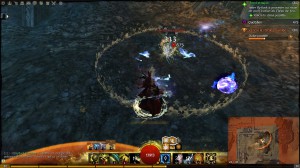
So much for the abilities and other annoyances during the fight. Now you combine all of that with the appearance of a healer down the hall. To identify him more easily, he has a cross on his head. He will walk towards the boss without stopping to restore him a huge amount of health points (around 25%). As soon as it is there, a signal indicates it to you on the minimap: kill it, slow it down, immobilize it, but do not let it approach the boss!

And now, at the end of the fight, attend the ritual. Everything will not go as planned! I say no more!
The chapter of living history ends here.
►Succès
Although there is no tab dedicated to the successes of this new update, some have been added to the "exploration" tab.
- Dolyak under pressure : While escorting the dolyaks to the Frozen Peaks, keep them all alive.
- That warms the heart : Complete the 5 events related to the dolyak escort leading to the Frozen Peaks.
- On the lookout Defend Serpent's Watch during the Dolyak Escort Event without any allies dying.
- Mordrems problems : Complete all Mordrem related events in Iron Marsh.
- Dry ass : Neutralize the poison of the Champion Mordrem in Iron Marsh, by drinking the nectar it releases.
- Ward off poison : Defeat Champion Mordrem without being hit by poison.


