
The Battle for Ilum is the first in a series of two Flashpoints in which you'll take on the traitorous Darth Malgus, who has exploited you throughout the game (if you're an Empire) and ultimately takes possession of whatever you are for. you were beaten in previous hot spots ...
Darth Malgus has proclaimed himself leader of a new Empire supposed to rally the netier galaxy by ridding it of the old sclerotic Empire, as well as the Republic. Standing in the heart of a stealthy Emperor station, Malgus commands a huge army of human and alien supporters. He ordered them to invade Ilum and loot the precious Adega Crystals, indispensable to his overpowered stealth fleet. To get to Malgus and stop his revolution, you must defend Ilum and steal a command ship from the invader.
Presentation
Normal mode: Level 50
Hard mode: Level 50, the difficulty is not very high, you just need a certain dps to kill the bosses easily. So don't head to this hot spot first if you're new to stuffing.
Pathway
(I'm only showing here the hard mode of the hot spot, the normal mode is exactly the same with just a little less hp on the bosses, which I was unable to meet)
As soon as you enter the battlefield you will have to progress to the mines controlled by Malgus, this contentious area not being really scripted, progress once again from "checkpoint to checkpoint", not forgetting to accomplish the bonus objectives which will allow you to face a bonus boss.
- Stage 1: Defeat the forces of Malgus / 30
- Stage 2: Defeat the forces of Malgus / 40
- Step 3: Destroy the crystal mining material / 10
- Final: Destroy the Auxiliary Generator and defeat Patriarch Guid
- Independent bonus: Destroy turbolaser batteries / 6
Shortly after your departure, the first bosses will rise up in front of you.
Gark the indomitable
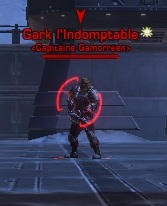
Hard Mode Hit Points: 102.160 hp
Capacities:
- Avalanche Shooting: Cone Shooting in front of him, kickable
- It pops 3 low-type gamoreans every 25% or so, to kill
Drinda-Zel & Velasu Graege
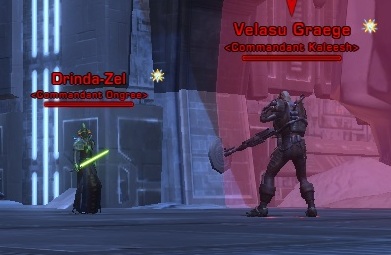
Hard Mode Hit Points:
- Drinda-Zel: 99.606pv
- Velasu Graege : 105.225pv
These two commanders have a very unstable aggro, they will often switch to players other than the tank to give a few slaps, the tank will have to taunt as soon as possible to avoid the damage. You're going to have to kill Drinda first, a simple technique is to take him up the stairs (where you probably came from) to kill him. Velasu does not move much and is content to make a few sniper shots, you will be safe from his attacks while you kill Drinda. Then go to Velasu, this one will pop 4 small turrets around it at 50% and 25% you will have to quickly take care of the first pop (I advise the healer to hide behind a crate so as not to take the pear full. when it pops), ignore the second pop if your dps is not very high otherwise the boss will have time to enrage and decimate the group the time to make the turrets a second time.
Once the boss is defeated, enter the mine and progress to the next objective, new bosses are waiting for you on the way.
Crystal Cutting Droid

Hard Mode Hit Points: 102.161 hp
Add: Crystal Collecting Droid (34.056pv)
Focus on the elite droid first, once the elite droid is dead pass over the cutout droid, he does nothing special besides a mining beam (spell channeled on a random player and dealing heavy damage)
Krel Thak
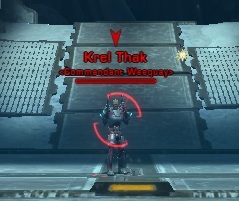
Hard Mode Hit Points: 135.820 hp
Capacities:
Proximity Drone: Summons a small probe that will bump people in contact with it
Defensive Shield: A shield that will return heavy damage to players during their melee attacks (kickable, and must be at all costs to preserve the poor healer, stop dps if ever he is not kicked)
He will pop regularly 4 ally weequay pirate behind him, these are weak mobs with 5k hp but which hurt horribly, you will have to flush them out with the aoe first and then kill them very quickly by preventing them from dying. 'reach the healer. If you have a jedi knight or sith warrior in the party, do an aoe stun as soon as they approach the cac, and do a few aoe to kill them, only use bumps as a last resort this is a waste of time which will be fatal to you if the boss is enraged.
Personally during my fight (Assassin tank, Sith devastator, Mercenary and Sorcerer heal) the mercenary and the sorcerer were in the axis of the add pop so that they pass close to the boss to join the heal which was their first focus, as soon as they were in the cac the pest made its aoe stun and they were quickly knocked out, the heal wizard allowed himself to make a small storm of force to flush out and kill the pirates more quickly. Arguably this fight is the toughest in this hot spot, if you do a quick add cleanup and manage to kick the shield this one will be trivial.
Then continue your progress until the last "checkpoint" of the new bosses awaiting you on your way, in particular the bonus boss if you took the time to do them.
Boss Bonus: Patriarch Guide
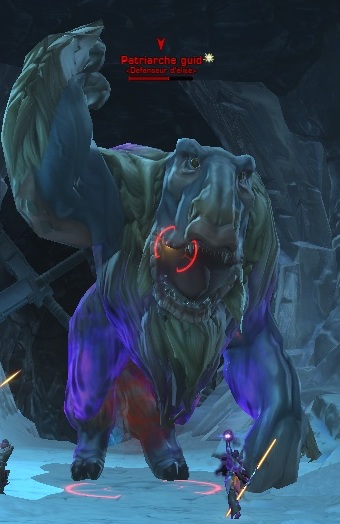
Hard Mode Hit Points: 162.985 hp
Besides his hammering which does quite a lot of damage on the whole group, he does nothing special, pack you all at the same point (in the healer's aoe heal ideally) and kill him quickly before the enrage.
Commander Folex

Hard Mode Hit Points: 102.161 hp
Very simple boss, accompanied by a few adds that will have to be cleaned, I advise you to do a CC on the elite, quickly kill the forts and pass on the boss, among the forts there will be a doctor who will have to be killed before the other. The boss himself makes a few shots which are kickable.
Here you are finally at the last boss, who is nothing other than Darth Serevin, your favorite Sith diplomat who had intervened during your quests on Voss (Empire side), enjoy the dialogue and put an end to the life of this traitor.
Dark Serevin
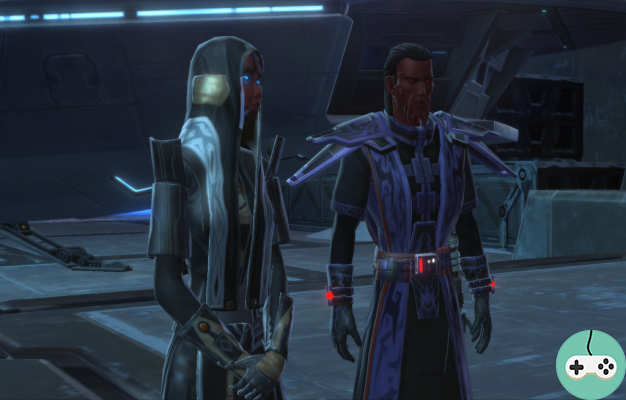
Hard Mode Hit Points: 290.134 hp
Add : Queneth-Li (59.596pv)
The boss in itself is quite simple, from the beginning make a quick focus on Queneth-Li to kill her, Serevin will be satisfied at the beginning to throw crystal shards at random players. Once Queneth is defeated he will have fun disappearing and reappearing very often, each time he disappears he will give a player a few slaps and immobilize him for a few seconds, he will also continue to throw his crystal shards, I advise you all of you pack in melee and hit him as soon as you have the chance, without depriving yourself of an aoe heal which will help well.
Once Serevin is defeated, you will have a small choice of alignment: Kill Talsa-Ko and his Voss allies or Not
The stealth shuttle of Serevin being yours, you will now be able to enter the stealth station of Darth Malgus to face it.
Thanks to Bradley, Ashuram and Augur from the Star Map (Empire) server for letting me write my guide while doing the ZL on hard mode with them.


