Go first to the Republic Fleet, where you will see two small droids, each giving a quest, one on the Macroscope, the other on the Seeker Droid once level 52. So let's start by taking an interest. at the Macroscope! Of course, as we detail the quests, there will be révélations !
- Coruscant
- Taris
- Tatooine
- Quesh
- Hoth
- Corellia
- Belsavis
- Alderaan
- Balmorra
- Voss
- Nar Shaddaa
- H4 Doomsday designs
- H4 The Shroud Unveiled
Coruscant
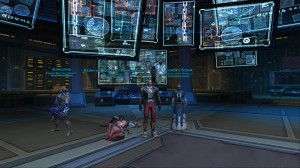
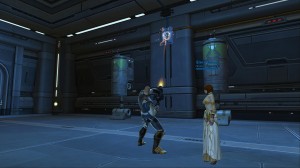
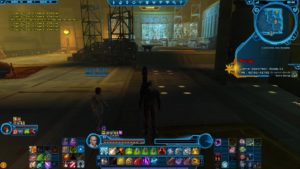
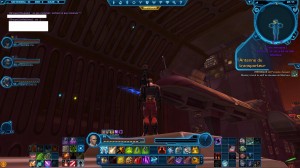
The little droid puts you in touch with Coruscant-based Deena Riss, who warns you that a dangerous individual is on the loose and asks you to join her. Head over to Coruscant to meet this enigmatic woman.

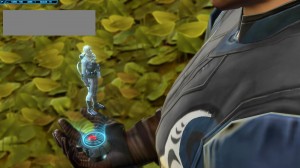
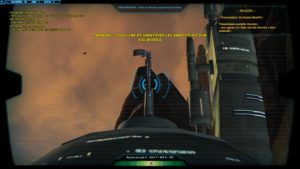
There, she tells you that a former spy has returned to service, the "Shroud", originally hired by the Hut Cartel, but going it alone since a discovery he made. The SIS having intercepted one of its shipments containing improved macroscopes, so here is one more toy in your possession, which you will find in your mission items tab.
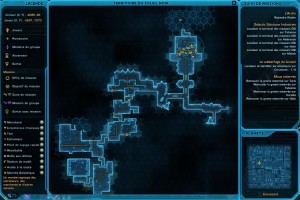
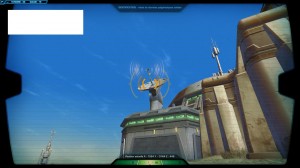
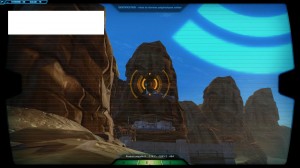
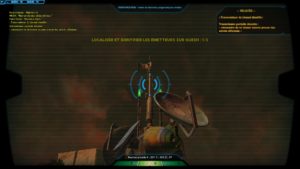
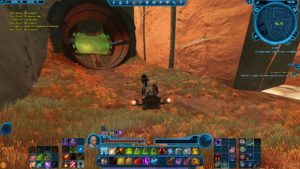
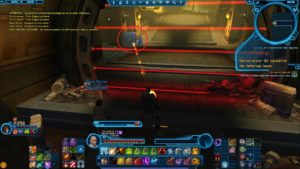
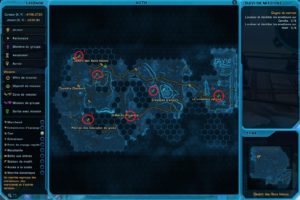
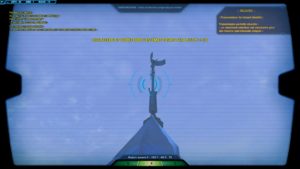
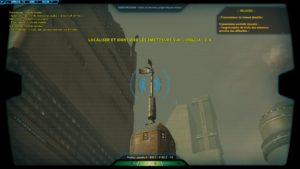
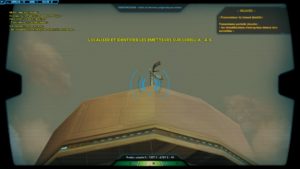
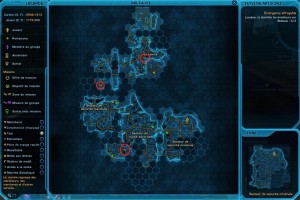
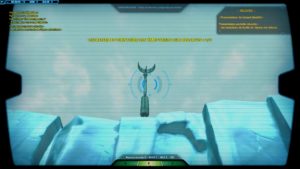
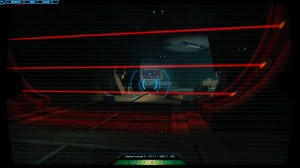
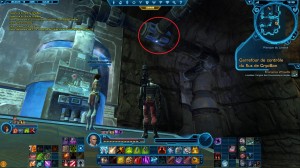
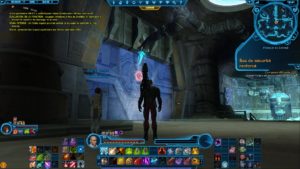
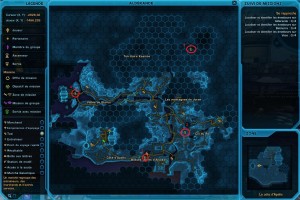
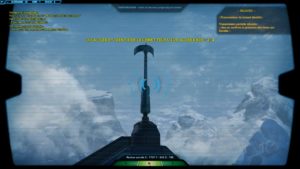
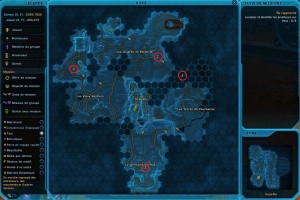
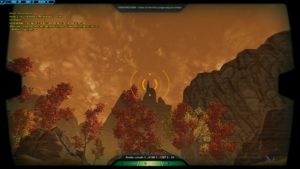
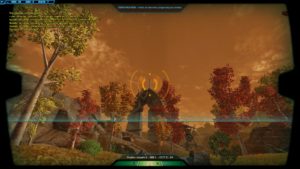
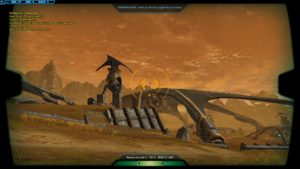
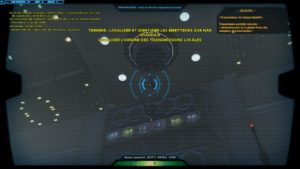
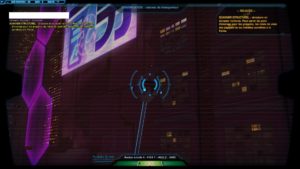
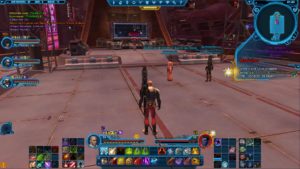
The next step is to locate the Shroud transmitters on Coruscant. A first location is just outside Coruscant, shown by a small icon on your map:
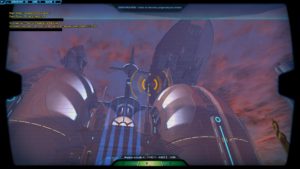
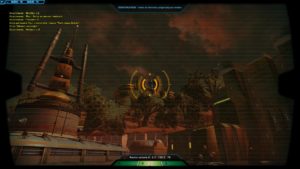
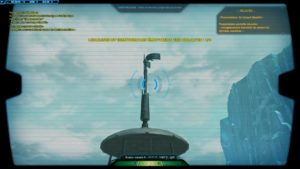
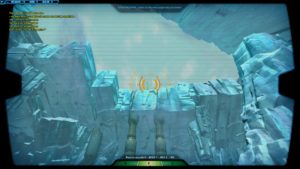
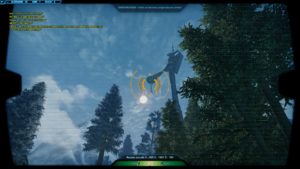
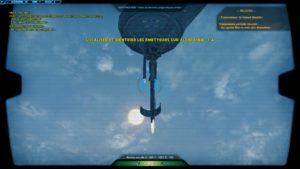
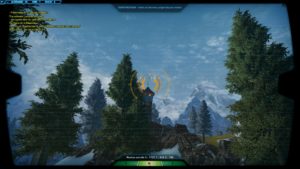
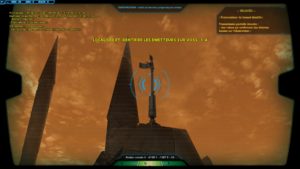
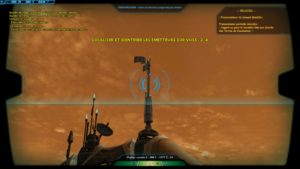
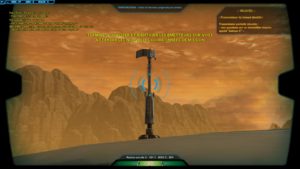
In the place indicated, use the Macroscope, and you will have to locate one of the transmitting antennas. Once located, click on it and the first part of the quest will be carried out. More than 3 to find.
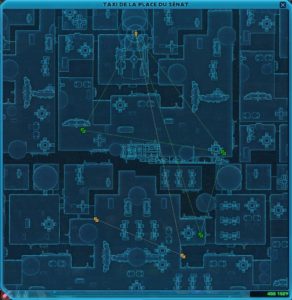
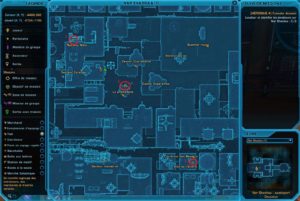
Go to a taxi rank, you can see that three destinations are important:
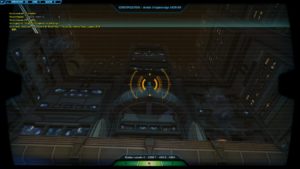
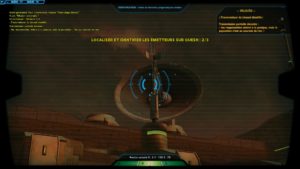
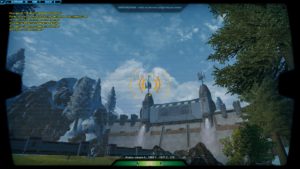
Black Sun Territory
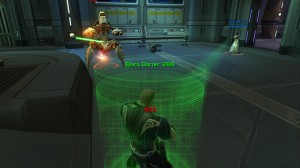
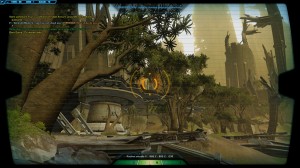
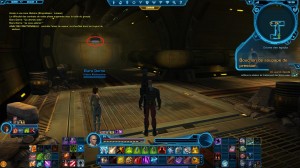
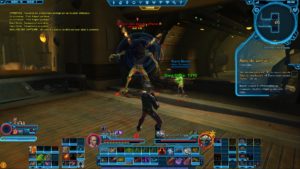
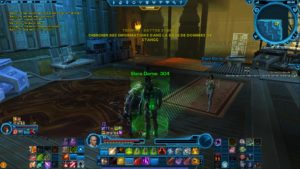
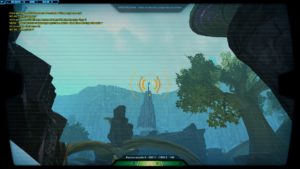
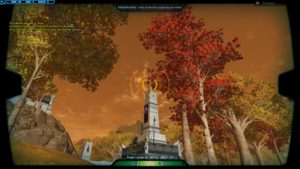
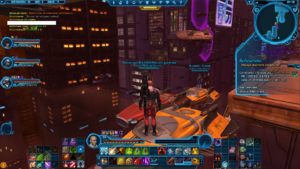
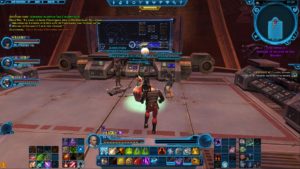
The icon indicates an antenna north of the taxi stand, in a heroic area. You stumble upon an MCR-99 Shroud spy droid.
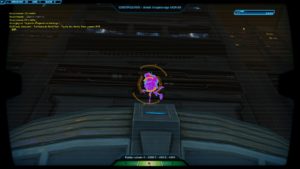
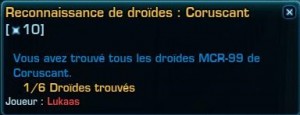
Note that these droids are part of a success, which consists of finding the 6 present on Coruscant. (feel free to send me your screens if you find any).
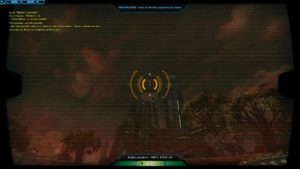
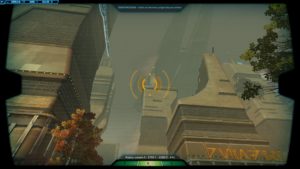
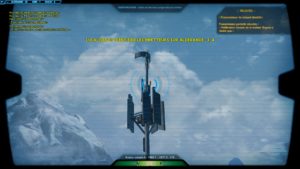
Galactic Market
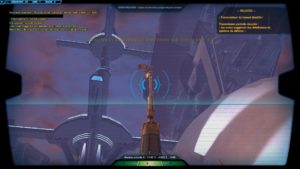
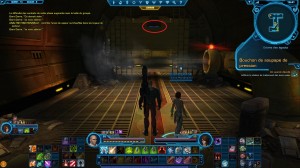
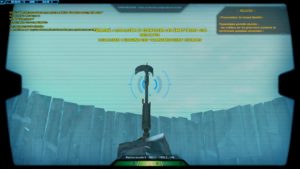
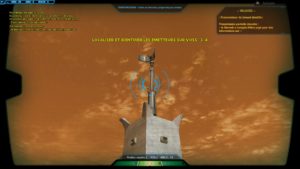
Go to the coordinates, then find the Shroud antenna.
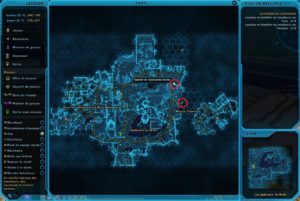
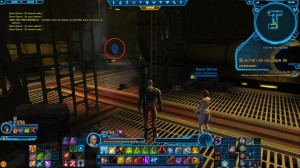
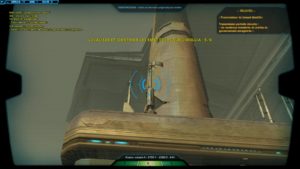
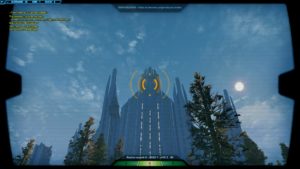
Justicar Territory
Now head for the territory of the Justicars. You are starting to get used to it, go to the coordinates shown on the map (not far away), then look for the antenna.
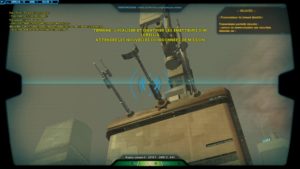
Lieutenant
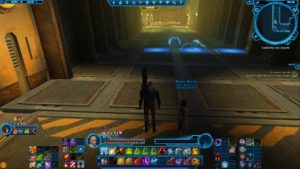
With this fourth antenna analyzed, Deena is now able to triangulate the position of the Lieutenant of the Shroud.
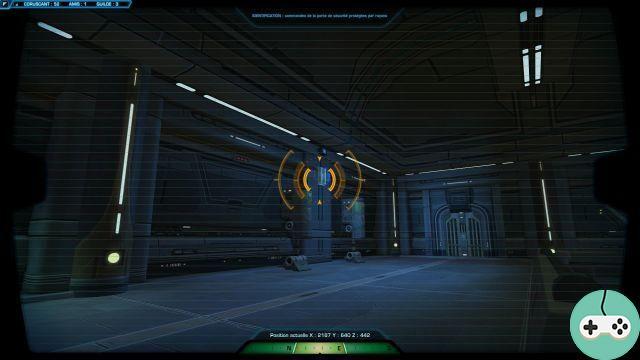
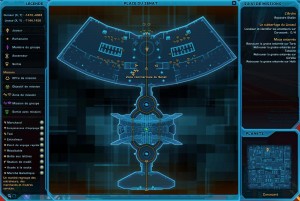
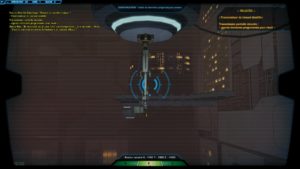
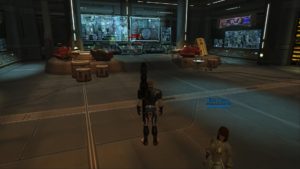
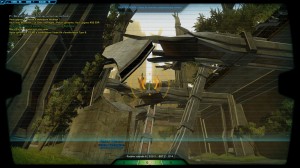
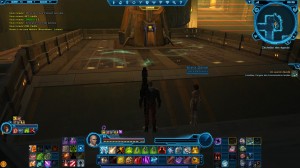
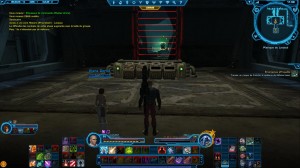
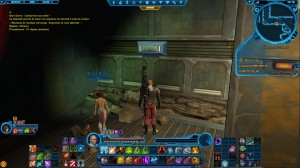
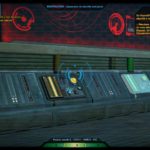
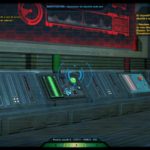
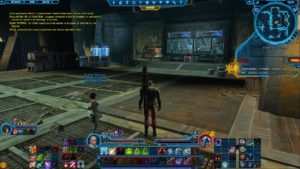
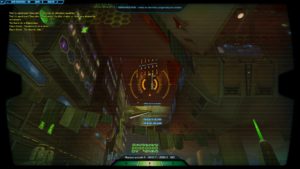
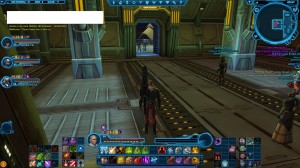
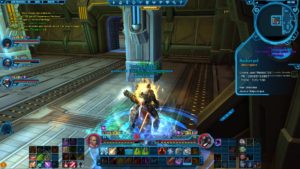
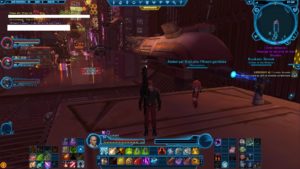
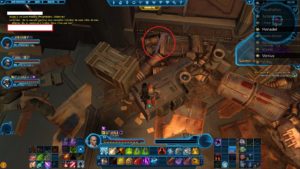
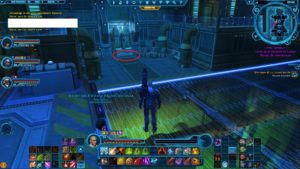
So now go to the Merchant's Tavern, at the Galactic Market. The doors are blocked, we will have to find a way to unlock the access. Take out your Macroscope, and analyze the two shield generators on the ceiling, as well as the two control panels on each side. You realize that each of the panels is protected by a force field, maintained by the generators on the ceiling.
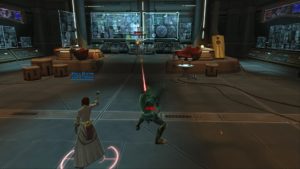
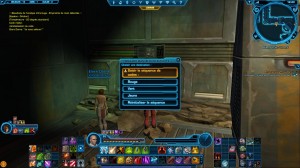
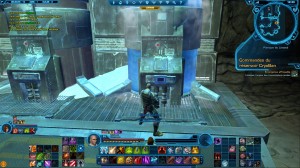
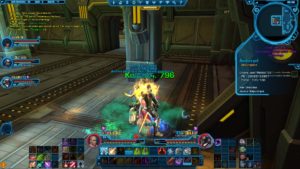
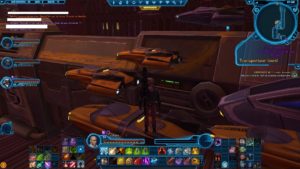
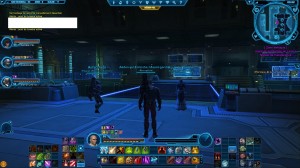
Destroy the two generators, then the two panels. The door opens upstairs. Fight the Guardian Droid then deactivate the door defense system on the ground floor. Destroy the two turrets that appear, disable the security door controls, then fight the three droids that arrive.
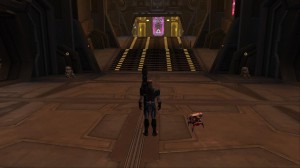
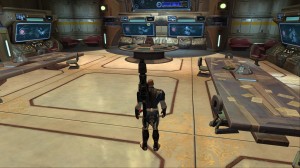
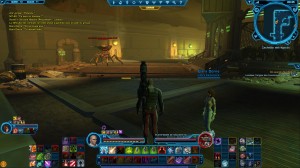
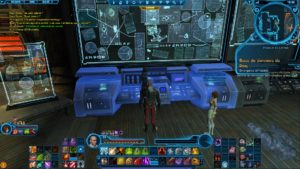
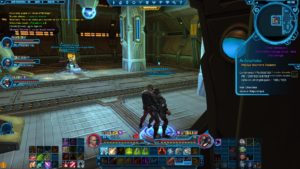
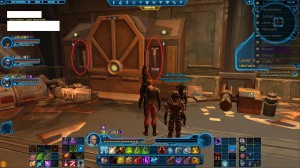
Here you are in front B-NK1, which will have to be disassembled into small pieces for microwave.
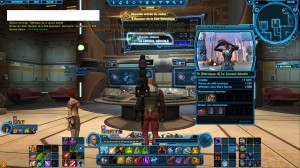
Once the droid is destroyed, activate the holoterminal, and here you are in front of the Shroud.

Go now to Taris or Tatooine to continue research.
Taris
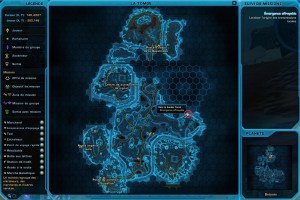
On Taris, you will have four locations to go and check.
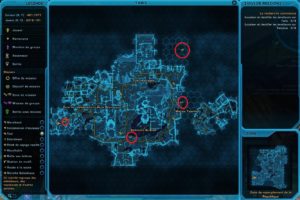
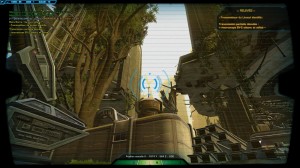
Starting point
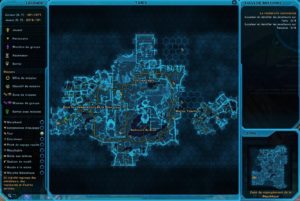
Draay Waypoint

Avant-Poste Kanner
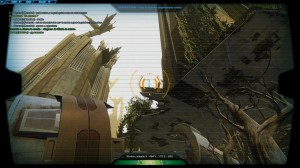
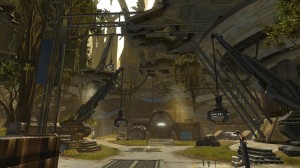
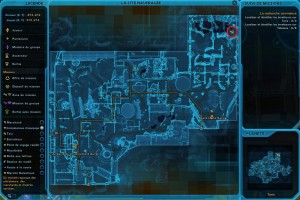
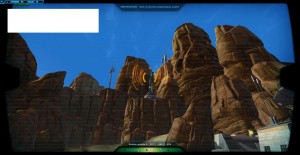
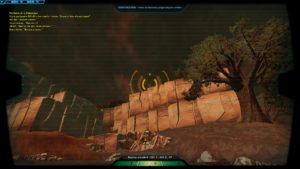
The wrecked city
The Shroud contacts you via Holocom and threatens you.
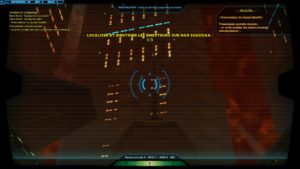
Tatooine
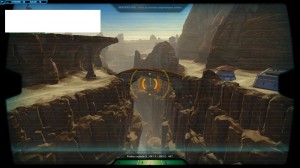
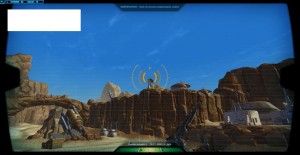
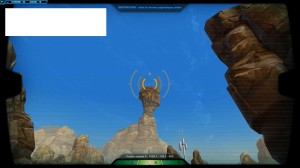
On Tatooine, you will therefore have 6 antennas to find. 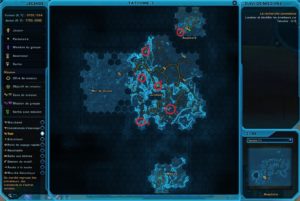
1
2
3
4
5
6
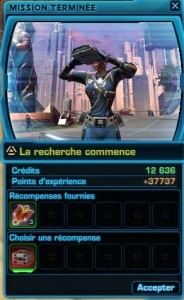
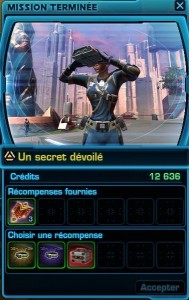
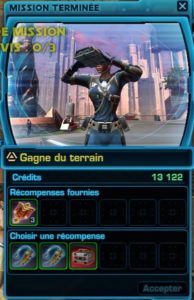
And the well-deserved reward:
Quesh
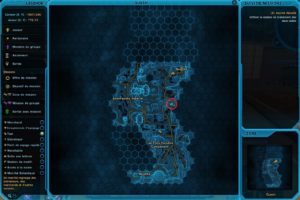
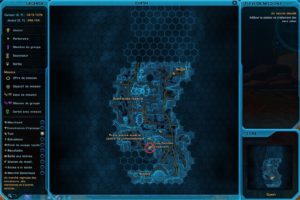
Three locations to analyze 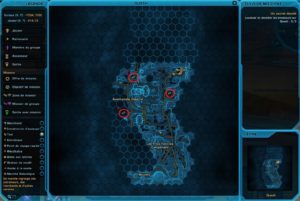
 1
1
 1
1
 2
2
 2
2
 3
3
 3
3
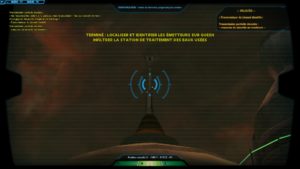
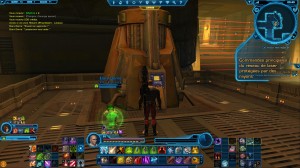
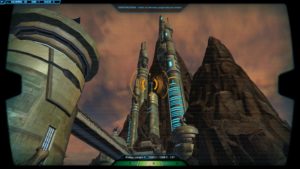
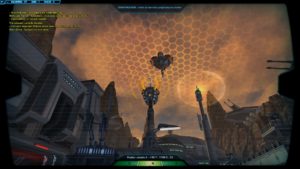
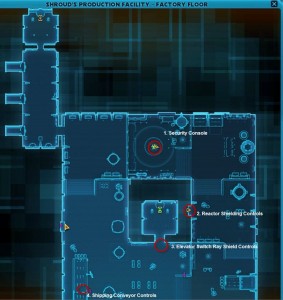
Once the three antennas have been analyzed, go to the wastewater treatment plant.
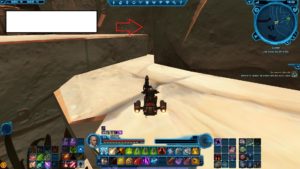
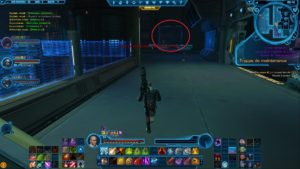
I absolutely did not find how to reach the place indicated, on the other hand, by chance, I found another entrance, on the imperial side.
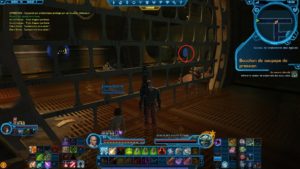
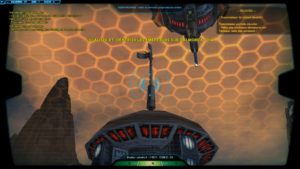
Follow the path.


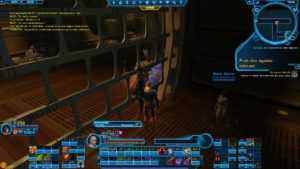
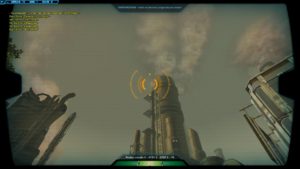
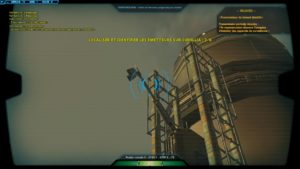
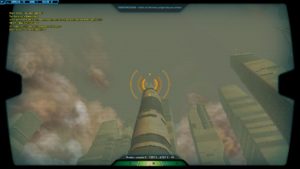
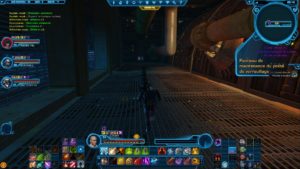
Once inside, steam valves block your way. Locate the pressure valve cap and destroy it.
The first valve is closed, destroy the second plug to close the second.
The road is still closed by steam, destroy the third traffic jam.
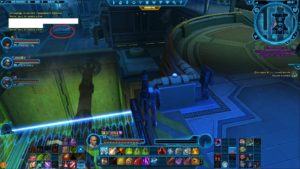
You are now free to take the elevator to the sewage treatment level (my brand new armor is going to take a nasty hit again). At the very bottom, you will face bars preventing you from moving forward. Only a Sewer Fruit is present, as well as a visibly hungry Sewer Lurker.
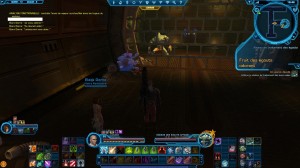
With the door control panel out of reach, let's make the best use of what we have. Take one of the fruits on the plant, and launch it on the control panel. The Ranger will throw himself in pursuit, knocking down the panel at the same time.
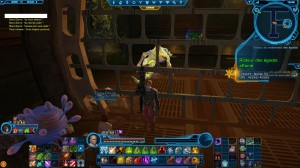
Once the door is open, go forward and you find yourself once again in front of the closed door. Take a fruit just behind, swing it again on the control panel and destroy the valve cap to force the Ranger to move forward.
Continue, then you will come to laser beams blocking your way. Click on the generator opposite to deactivate them. Unfortunately, that makes me very sad, but our Ranger buddy attacks us at this point, and we're going to have to make rat-wompa food out of it.
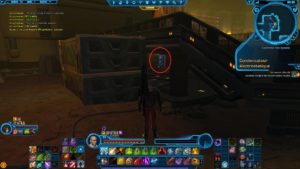
Once at the top, you are in front of an electric trap. You can see slabs on the ground gradually filling with electricity. To pass, you will need to free two boxes on the ground, destroying two panels on the ceiling.

Once the first panel is destroyed, take advantage of the space thus created to advance in safety.

Do the same with the second panel. In front of you, you will see a droid, it will be necessary to kill it, as well as the small adds, before they have time to open the door to the side, rounding up their rather beefy droid buddies.
In the next room, you will see in the middle a control panel protected by rays.
To reach it, go lower to the left, and destroy the two capacitors on each side of the pillar.
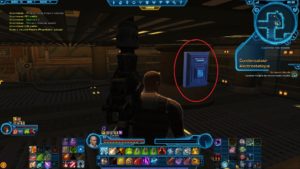
Once destroyed, the panel is free to access and you can deactivate the rays blocking the passage.
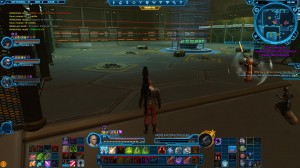
Go up, and you'll have to stuff yourself with droids to kill very quickly. A little further on is Stangg, a nice little Gamorrean, who will of course have to be eliminated.
Once down, use its database, and Deena will contact you with more info.
Deena gives you after all that new coordinates to inspect, on Hoth and on Corellia.
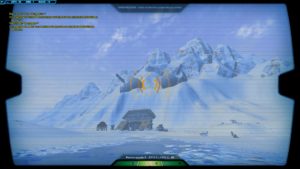
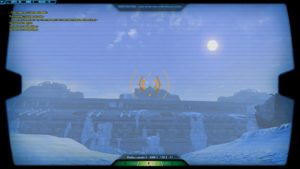
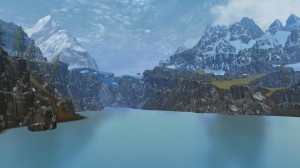
Hoth

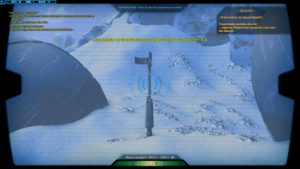
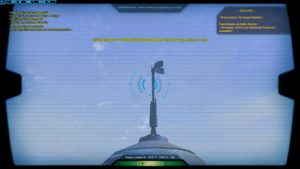
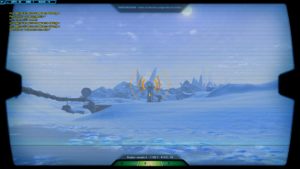
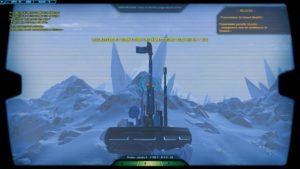
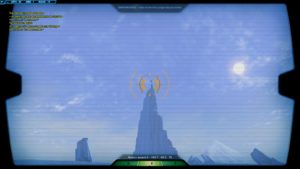
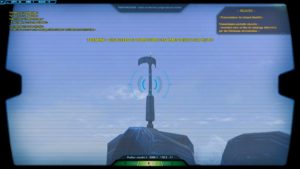
Take out the coats, we are going to freeze the miquettes once again. On top of that, there are no less than 6 locations to check out.
 1
1
 1
1
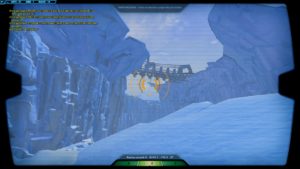 2
2
 2
2
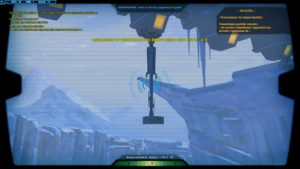
 3
3
 3
3
 4
4
 4
4
 5
5
 5
5
 6
6
 6
6
Once the six antennas have been analyzed, the Shroud contacts you once again to threaten you.
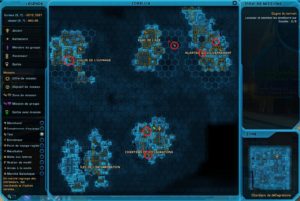
Corellia

Now let's go to the planet Corellia and its streets, battlefields. Let's go in search of six antennas of the Shroud.
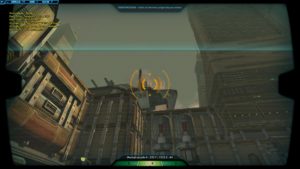 1
1
 1
1
 2
2
 2
2
 3
3
 3
3
 4
4
 4
4
 5
5
 5
5
 6
6
 6
6
Let's not forget the reward of course.
Belsavis

Three antennas are going to be unearthed.
 1
1
 1
1
 2
2
 2
2
 3
3
 3
3
Once all three antennas have been analyzed, move towards the point of origin of the transmissions.
Take the teleporter, you enter the hideout of the Shroud. Immediately, when you arrive, there is already a first riddle, with the mercenary Jeep who taunts you.
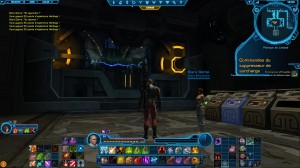
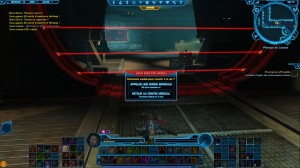
Orders are in front of you, only one can be activated for the moment. Tap on it, and you'll see the generators on the side activate. Now the 3rd panel can be activated, but if you press on it, you will spawn droids that you will have to fight. Instead, look near each of the two generators, you will see Suppressor Controls.
Destroy both, then click now on the 3rd panel, which now activates the 4th. Only, it is better once again not to click on it immediately, otherwise the droids will land. Instead, destroy the heatsink just behind you above.
Once destroyed, you can click on the 4th panel and deactivate the laser beams. Continue by cleaning the hallways. In front of you you will see a new room, do not go too fast, because lasers are activated and you may end up like me.
To deactivate these rays, you will first have to destroy the panel on the right.
Once this is done, the panel will ask you for a color sequence in order to deactivate the rays.
In order to find the solution, take the macroscope and aim at the control panels at the back of the room.
Use the macroscope on each of the three panels, which will give you hints on the order the Jeep mercenary used.
 Yellow
 Green
Green
 Red wine
Solution
Each of the panels was activated by the mercenary and the macroscope was able to identify the temperature of the handprint. It is therefore necessary to take the temperatures from the lowest to the highest in order. So Red, Green, Yellow, and then again green, because the macroscope tells us two temperatures, not one with decimal.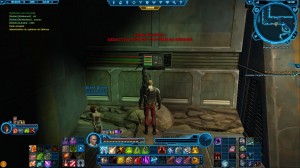
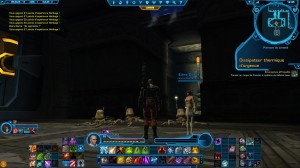
Clean the hallways once again. Then you will arrive in a large room, at the bottom of which is a large armored door, impossible to open. To do this, you will find storage barrels on each side. Activate them (one to the right of the door, and two to the left).
Once activated, it will be necessary to route the liquid to the door in order to detonate it. For that, look at the ceiling, you will see crossroads of control.
You will have five in the room. It will be necessary to watch the path taken by the liquid, even if it means pressing several times. Once the liquid towards the door, destroy the pipe above, then on the door which will have frozen.

In the next room, you will just have to face Jeep, then use its database.
Deena then sends you to Alderande, Balmorra and Voss.
Alderaan
Yes, we will still have to heat the speeders.
 1
1
 1
1
 2
2
 2
2
 3
3
 3
3
 4
4
 4
4
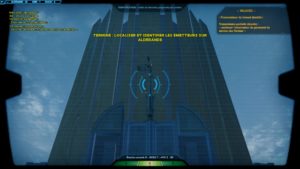
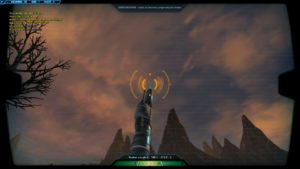
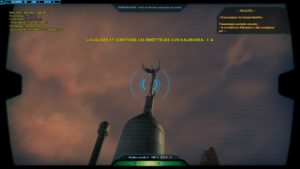
Balmorra
Four antennas await you on this planet. 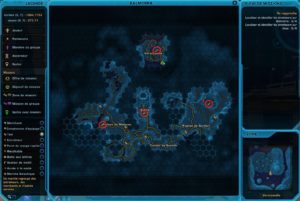
 1
1
 1
1
 2
2
 2
2
 3
3
 3
3
 4
4
 4
4
Voss

Four locations again here.
 1
1
 1
1
 2
2
 2
2
 3
3
 3
3
 4
4
 4
4
Nar Shaddaa - H4 Doomsday Designs

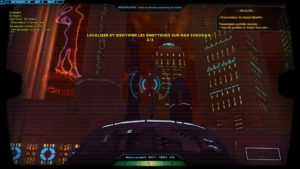
The rest of the adventure now takes us to Nar Shaddaa. A group of multiple players is highly recommended as enemies are hitting quite hard and being quite numerous. Doable without a tank, this H4 can also be done with a partner to replace a player. You will first have to find the last three antennas:
 1
1
 1
1
 2
2
 2
2
 3
3
 3
3
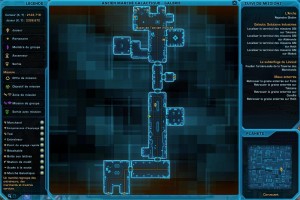
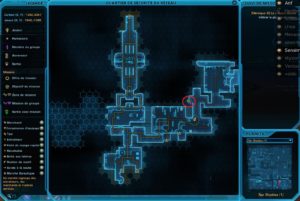
Once the three antennas have been analyzed, you are now able to locate the origin of the transmissions. Go to the Network Security District.
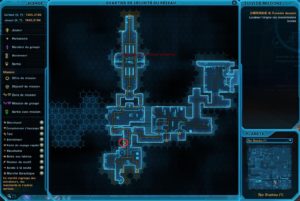
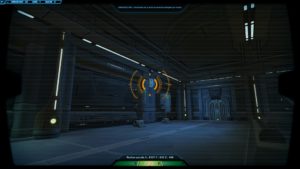
In the first room, you are already blocked by a force field.
To deactivate it, you will have to place yourself on the two buttons on the left and on the right after destroying the droids attacking you. A target will mark one of you at random, and launch an EMP after a few seconds. By placing this EMP on the two buttons, you will bypass them and thus be able to deactivate the force field.

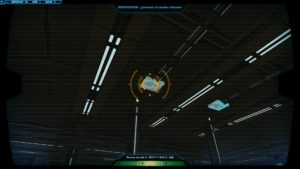
Once through the gate, you see a skiff escaping. Clean the surroundings, then approach the mooring dock. Click on it and you will see a cut scene worthy of Chuck Norris.


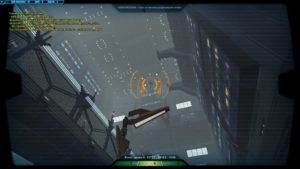
Now is when the funniest part of the quest (or not) begins. IT will have to catch up with the single scull, and for that, nothing like a little game of leapfrog on speeders. You will understand, we will have to jump. The first part of the path is quite simple and logical, you just have to jump from speeder to speeder.
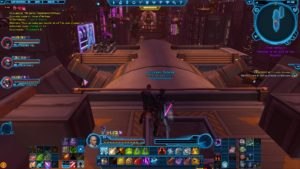

After a while you will come to what appears to be a cul-de-sac. Rest assured, there is always a way out. The macroscope will help you there. With it, you will be able to see an antenna on the ship opposite, which will be able to serve as an anchor point.

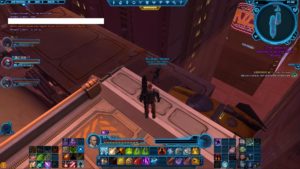
Click on it, and you are propelled to the second part of the quest. Here, it will always be necessary to jump on speeders, but which tend to move. We will therefore have to wait for the right moment to jump.
A little further on, you will find a new antenna to use for jumping.
And a little further ahead awaits you the final fight, against Maki'voro. A fairly simple fight, just try to interrupt his attacks, one of which hurts everyone in the party quite a bit.
Once done, you are now able to locate the Shroud hideout, so go to the next H4 to end it.
Nar Shaddaa - H4 The Shroud Unveiled
For this quest, it is necessary to have four real players in the group, because you have to click in different places at the same time. So forget the idea of taking your partner.
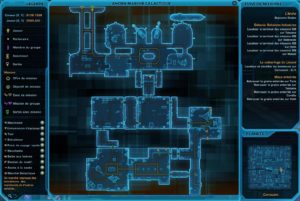
That's it, we can finally locate the Shroud hideout, and it's high time to pay it a visit. Go to the Network Security District, not far from the previous mission.
In the first room, you will first have to find two disconnected Levers, which are located here:

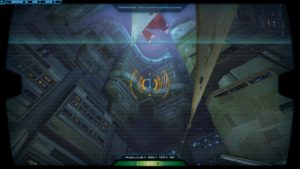
Once picked up, click on slot 1 on the next image to set up a lever. Then click on it, as well as on the second on the right. Which will have the effect of opening a secret door.
The next room is quite complicated to explain, with in addition to that a small lack of screens, I promise to redo some to better explain.
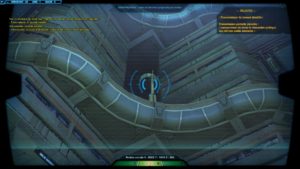
Start by knocking out the droids in the room. To be able to advance, you will have to activate all four buttons at the same time. Three are in the alcoves in the side of the room, and one is in the ceiling. Once done, the door opens.
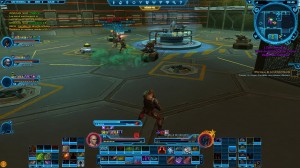
The next room is quite large, and needs to be completely emptied of enemies to be able to be quiet in the second stage. Once at the end of the room, you will see a robot surrounded by a force field.
Approach and the droid will activate its security system, which consists of multiple waves of enemies, and with each wave, areas on the ground doing damage. You will therefore have to overcome all these waves of enemies by avoiding areas on the ground each time when they turn red. They have a regular cycle, once the cycle is understood, it becomes very easy.
Once the waves have passed, especially move away from the areas on the ground, and stand where there were the lasers, because the droid launches a last devastating attack that will do you extremely badly. As evidenced by this screen, where I wanted to show the damage caused, of course by pure professional conscience, and not by stupidity?

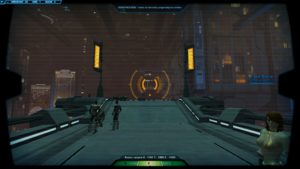
Once finished, things get complicated. I admit that myself, I did not understand everything? In fact, someone will have to step into the droid's place. The other three will be placed as on this screen
Thanks Dulfy?
It is necessary that the 1, instead of the droid, press on the yellow button, to free the place for the 4. At the same time, it is necessary that it presses on the green button, in order to remove the gas for it. 2. He then presses the 1, which clears the way for the 3. It is at this moment that everything is played, once 2,3, 4 and XNUMX are in place, they must press their respective buttons. at the same time (a vocal is strongly recommended ^^).
Once this is done, the way is clear, and you can take the elevator. Once down, you are in a room, blocked by a non-existent light bridge. To activate it, you will have to press four buttons.
The first is just to the right, you have to break the wall, you will find a button at the bottom. Leave a person there.
The second and third are each on one side of the bridge:
To access it, simply go through the pipes. And to go up, you will see mouthfuls of air that will expel you upwards. The fourth button is the one near the bridge.
Each place yourself in front of a button, the 1 presses first, which frees the 2 and the 3, which can click in their turn, and the 4 can then finish in order to activate the bridge.
In the next room, you will have to face clones of yourselves sent by the Shroud.


Once defeated, here is the final fight against the Shroud, which will take place in several phases.
1e phase : the Shroud is wrapped in a shield. It will have to be destroyed by activating the consoles on the left, right, top and bottom. The technique we tested is that the two dps each take care of two consoles, and the tank and the heal remain in the middle to manage the boss as well as any adds. Once the consoles are activated, the shield farts and you can let go of the dps.
2e phase : arrived at 50%, the Shroud will grap you in the middle, and will summon four droids that will have to be defeated. They hit hard, so remember to target the same enemies to go faster.
3e phase : Once the last robot is down, you will see 12 Shroud clones appear, casting a devastating attack that will kill everyone. Among these 12 clones hides the real Shroud, it will have to be found before the end of the cast. To go faster, we spread over the four corners of the room to be able to each attack 3 clones.
4e phase : you will simply have to type the Shroud, being careful to interrupt his spell "Exterminator Beam", which on-shoot a member of the group.
Once dead, enjoy the cutscene, and head to Coruscant for the denouement.
I would like to say a big, big thank you to my three fellow travelers for these H4s, which were really very nice and very very good. So a big thank you to Kuukaku, Aëden-yel and Anfetcheto !