


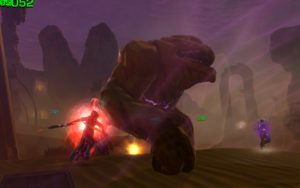
On the occasion of the three months of the release of Operation Lair of Infamous Thugs (Darvannis), we offer a guide to all the bosses of this operation in hard mode and let's start today with Daash'Roode.
Hard Mode: 2 Health Points
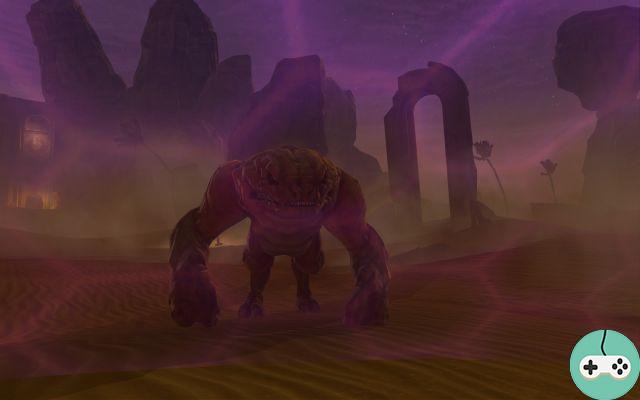
Features
- Normal Mode
- Hard Mode
Capacities in normal mode:
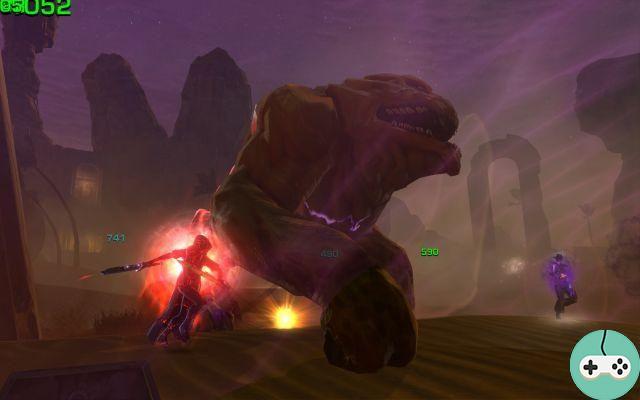
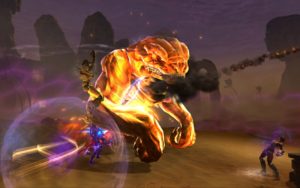
- Roaring Sandstorm: It is permanent on this boss and deals damage in the form of stacks that stack whenever you are unprotected.
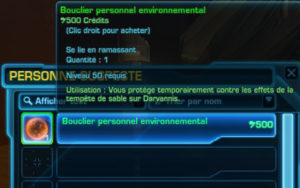
- Environmental Personal Shield: Shield protecting you from the sandstorm.
- Shield Generator: Activates via a clickable beacon and spawns a protective shield for the entire raid for 1 minute. You can only activate one generator at a time and you will need to deactivate the current generator before you can activate the next one. There are four generators available for the entire fight after which you will no longer be protected from the sandstorm.
- Lost Like Rats: A few seconds after deactivating the shield, a random person finds himself teleported away from the raid. Rats attack this person when he arrives.
- Earthquake: the boss will constantly throw you twenty meters away.
- Painful Kick: A single kick with both feet that deals damage to players in front.
- Regularly, a tank will be launched into the air and will lose all of its threat during flight.
Abilities added for hard mode:
- Earthquake: By throwing you, the boss inflicts damage in front of him.
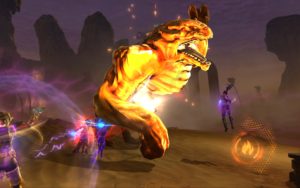
- Hungry Xuvvas: The buzz of the energy converter attracts nearby birds
- Lost Like Rats: When hitting you, rats will reduce your movement speed.
Course of the fight
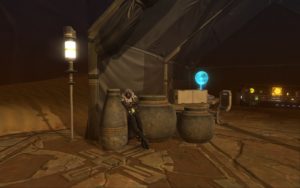
First of all, each member must purchase a personal environmental shield for 500 credits from the merchant in the tent. this will be useful when a member is teleported away from the raid.
So here you are ready to engage in combat, advance to the activation beacon of the shield generator and position yourself according to the recommendations below:
- Blue Zone: tanks
- Green zone: the healers
- Red zone: damage classes
To limit movement, the ranged damage class and healer must be placed against the wall in order to be thrown against it. The melee damage classes must stay in line between the wall and the boss in order to be thrown against it as well and allow a quick return. For Tanks, all they need to do is stick to the beacon and place the boss back to the raid to limit the raid damage.
When the hungry Xuvvas arrive, they must be killed quickly as they attack the shield generator and risk destroying it, which would result in the death of the raid. We suggest you divide your group into two parts:
- 2 ranged damage people and 1 bird tank
- 2 damage dealing people and 1 boss tank
In order to optimize this, we suggest that tanks generate area threat regularly!
When the shield is deactivated, a player must click on the beacon in order to recover a mini shield of about 15m in radius. We generally prefer the tank allowing it to never be teleported. During this phase, the boss no longer performs earthquakes or painful kicks, so you can regroup and reassemble the life gauges of the whole group before two people get lost like rats. You will then only have to get to the second beacon as quickly as possible, avoiding the yellow areas which will slow you down if you enter inside. This process has to be repeated 4 times.

If you decide to take your time and wait until the last moment before activating the next beacon, you will save time on the boss but also have more birds on the generator which can lead to death if your group does not kill them. fast enough.
Regarding the rats that follow you, there are two possibilities depending on your class, role and preference:
- Either you advance as fast as possible to catch up with your companions and use all your spells to remove the harmful effects of slowing down. You can also stun them to gain a few seconds.
- Either kill them alone and then join your party. They don't have a lot of health and with area damage they won't survive for more than 10 seconds.
Difficulty
This boss is not very complicated if the strategy is well respected. However, the tanks must be careful with their placement to avoid as much as possible the loss of damage of the contact classes because the great difficulty will come mainly from the lack of damage. Indeed, it is not uncommon on the first attempts to kill the boss when the shield generator is no longer present.
Booty
- 1 Token type belt
- 1 random piece out of set
- 1 Exotic Element Equalizer
- 6 ultimate distinctions
- 8 elite distinctions
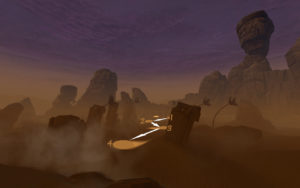
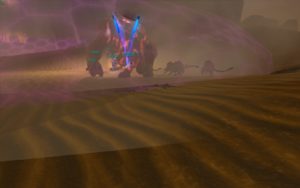
Screenshot
Videos


