


We just recently explored the strategic arcana of Operation Temple of Sacrifice in story mode. Now, let's dwell on a little more difficulty: the hard mode, and let's start without further ado with "Malaphar the Savage"
Description of the fight
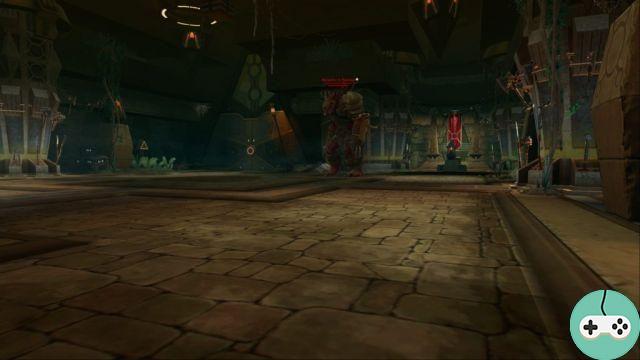
The fight always takes place in the small rectangular room. Malaphar is surrounded by a circle that increases damage dealt and received when you are inside and reduces it when you are outside. Your survival hinges on getting out of the circle in order to lose damage increases and your ability to dodge one of the boss's area spells.
- Boss Hit Points : 2 711 353
- Massassis health points : About 44k
- Fight time before enrage : between 5 minutes 30 and 6 minutes
Combat abilities
Malaphar has the same abilities as in normal mode. However, these are more powerful and therefore inflict more damage.
- Basic Attack : Attack targeted at the person with the highest aggressiveness. Does not deal area damage.
- Shock Pilon : Recurrent area attack. Deal damage to people in the circle surrounding Malaphar.
- Savagery : Area effect that increases damage received and inflicted by players. Stacks without limit. Personal effect (varies according to the number of effects accumulated by each player).
- Exhaustion : Area effect that reduces damage received and inflicted by players. Stacks with a limit of 5 effects. Personal belonging.
- Massassi warriors : Recurrent appearance of 2 ferocious Massassi and a ferocious Massassi jumper.
- Lance Massassi : Red zone targeted on a person. It attaches to the ground shortly before inflicting significant damage. Avoid at all costs. Massassi Warriors also take damage. Potentially fatal.
- Howl of frustration : If Malaphar isn't close enough to his target to strike, he screams and deals massive area damage. Potentially fatal.
Course of the fight
The boss is surrounded by an aura represented by a circle throughout the fight. When a player is in the circle, they will regularly gain a savagery effect that increases damage taken and sent. If he is outside, he will gain an effect that reduces that same damage. In order for your healers to keep you alive, you will need to get out of this circle every 4 to 7 cumulative effects. Dps and Healers will have to go out at 4/5 cumulative effects and tanks at 6/7 cumulative effects.
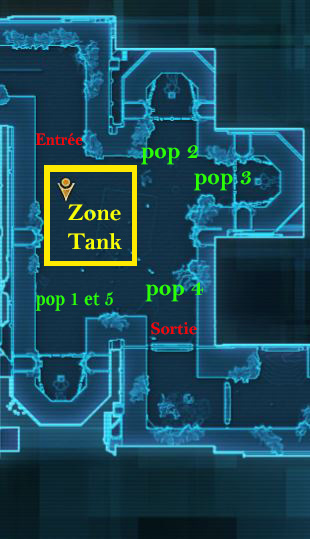
The start of the fight takes place without any particular concerns. You regularly take damage from the boss's AoE attacks, and your healers need to keep you alive. A tank takes care of the boss on this first part and the second remains outside the circle. The boss must occupy the tank area in the image below so as not to have to move it afterwards. Indeed, waves of Massassis warriors arrive regularly and they must absolutely not be in the aura of Malaphar otherwise they also gain an increase in damage. Here are the pop locations of these different waves seen on the map.
During the first wave of Massassis warriors, the tank that was outside enters the circle and picks up the boss. The tank which had the boss then leaves the circle and recovers the Massassis Warriors. One of the DPS will remain focused on the boss (preferably melee). The other three (preferably the distances) will go to help the tank hit the Massassis. Meanwhile, Malpahar will throw a spear at one of the players. He will have to move away from the group so that the spear does not freeze at the feet of his comrades. It is interesting that the Massassis warriors are under the spear as it strikes as they also take damage from this spell.
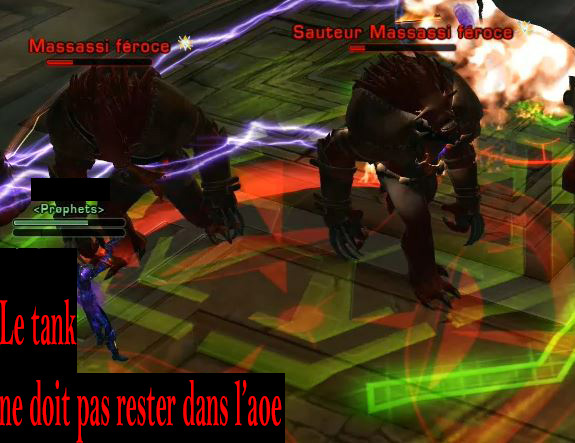
If you get there, you will gain DPS on Warriors, otherwise the most important thing is not to put it under the feet of your comrades. Note that the tank must not remain in the AoE either. He will suffer damage from the latter and this can be fatal.
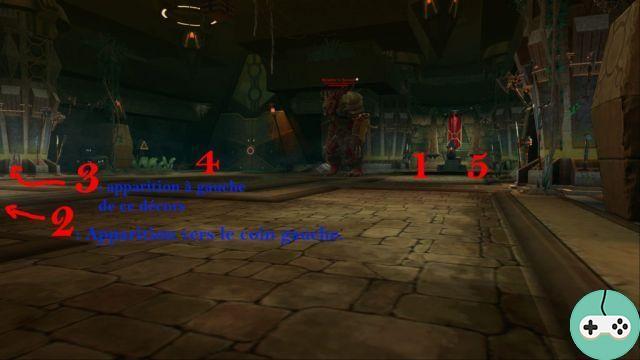
Once the warriors are dead, the DPS will return to Malaphar and you will have the right to repeat this system up to 4 more times before enrage. Here is the order of appearance and the place of appearance of the warriors, seen from the entrance of the room.
Additional tips
Be careful with the tanks, you must not be too far from the boss because otherwise he uses the Howl of frustration which will be fatal to the group.
If you are limited in DPS, it is interesting to focus on Malaphar after the 4th wave of Massassi warriors. Under these conditions, the tank which does not have the boss must take care of recovering the three warriors of the 5th wave.
Booty
The drops are similar to normal mode but from level 198.
- 1 Relic token 198
- 1 Object Outside set 198.
- 2 exons.
- 6 Ultimate Honors.
- 8 Elite Distinctions.
It could also happen that a second relic could drop at random, however I have never observed it on hard mode.


