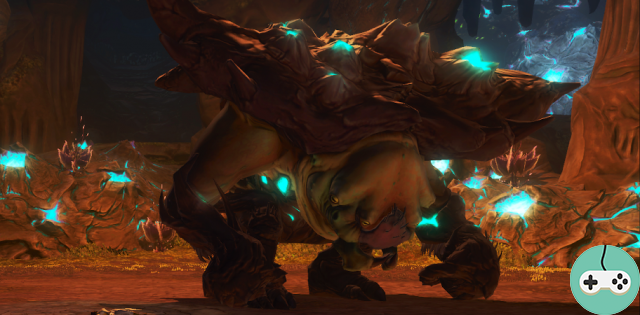
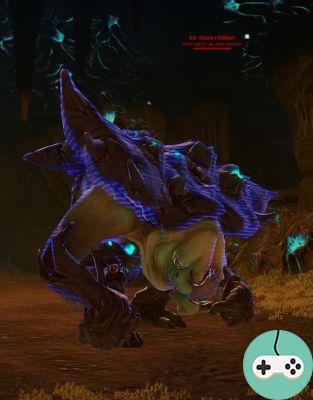
Today we're going to take on the Sub-Ranger on Hard difficulty in Operation Temple of Sacrifice.
Description of the fight
The Sub-Ranger is often on the move so be careful not to engage in combat prematurely or your friends may die or get stuck outside the room.
The boss has three phases which are linked one after the other without stopping. They all last about a minute before returning to the boss cycle.
Here are some features:
- Boss Hit Points : 3 400 377
- Hit Points of Little Rangers : 109k
- Fight time before enrage : 4 minutes and 50 seconds.
The combat will be described with a composition normally made up of 2 Tanks, 2 Healers and 4 DPS.
Combat abilities
Here are the abilities of the Sub-Ranger:
- pillage : A cross appears centered on the sub ranger, each arm must be occupied by various people depending on the orientation of the boss. Deals damage at the end of the channel. Small novelty: he also places a debuff on the target placed in front of him.
- Furious Storm : Throw small pebbles all over the room. You will have to be behind a rock to protect yourself because you will not survive more than 2 ticks of this spell. Potentially fatal.
- Collapse : Channeled capacity. It has the effect of placing areas of effects where rocks will fall after a few seconds. These rocks kill if you stay below, regardless of the defensive power used.
- Catapultage : Throws a large boulder at its target. Deals heavy damage. Potentially fatal.
And now, those of the little prowlers:
- Melee attack : Attack the target in front of him. Average damage.
- Jump : Unlimited zone attack.
- Maul : Attack the acquired target. Remote including.
Most of their abilities are kinetic damage abilities.
Course of the fight
As already said, the fight takes place in a sequence of three phases once the time to enter combat has passed. Here are these different phases:
- Entering combat is very easy. The tank picks up the boss, the DPS hits it and the healers don't have much to do because the damage is minimal.
- Phase 1 : Appearance of little prowlers. There are three of them and distributed as in normal mode. The tank must absolutely have the aggro of the boss during this phase (and the others too), the DPS pass on these 3 small rovers. The small novelty is that these things slow you down enormously (does not dissipate). You will have to kill them as quickly as possible in order to place yourself and avoid the rocks.
- Phase 2 : Everyone is hiding behind the stones which will fall to the ground. Be careful, if you have not finished killing the little prowlers at this point, you will have difficulty avoiding the stones if they fall on you.
- Phase 3 : This is the phase of the cross, as in normal mode you will have to distribute yourself as follows: 1 healer + 2 DPS left and right in fixed placement. The two tanks in front and behind. These last two will have to exchange their places at each cross, the boss applies an effect to the tank in front which will cause his death if he is in the same place during the next one.
The boss cycle is logically: Entry into combat, P1, P2, P3, then repetition of P1, P2, P3, ...
The enrage is at 4 minutes 50 seconds. It is up to you to judge when to focus, but I would advise a priori to wait for the penultimate cross and then to no longer deal with the little prowlers.
Additional tips
If this strategy does not work due to lack of DPS, you can always try to make your focus boss a little earlier and let two add phases go by at the end.
If that still doesn't work, it's possible to switch one of your tanks to DPS. This boss can only be done with a tank. In this case, remember to place your strongest DPS behind the boss (this DPS must also change its place with the tank 1 out of 2 times in P3).
The reflection of the Specialist's Mass Taunt can protect part of your party if you are ever sure you have a red cross, then damage taken will normally be returned to the boss. If moreover you have a speco DPS and tank, do not hesitate to make accumulate the 2. Thus, everyone will be protected and it is also a possible source of damage on the boss.
Booty
- 1 Token boot 198
- 1 Object Outside set 198.
- 1 exons.
- 6 Ultimate Honors.
- 8 Elite Distinctions.
There is only one thing left to say: Good luck!