


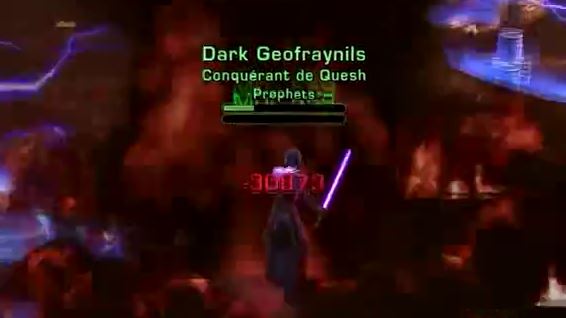
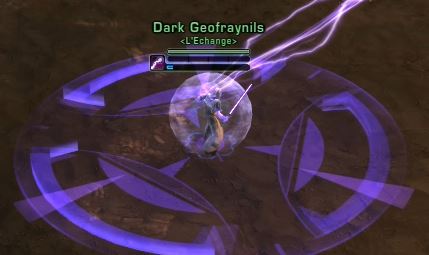
"You arrive just in time for the alcohol supply from Raider's Cove," Ruggar says as you enter this room, but it is guarded by Quartermaster Bulo.
Description of the fight
The fight takes place on the same principle as in normal mode, focusing dps (damage) on the boss, the tanks still have their boss exchange mechanics and the healers must maintain the group. In short, nothing much different from normal mode except a few barrels of baradium targeted at an additional tank and increased damage.
Health points of Quartermaster Bulo: 3 PV.
Fight time before enrage: Unknown.
capacity of fight
Here are the combat abilities assigned to Bulo to begin with:
- Barrel Throw (elementary): Throws an explosive barrel at a randomly chosen player. Significant and immediate damage in a small area around its target (Approximately 5 to 8 meters, estimated distance to the eye)
- Mass Dam (energetic): Channeled spell targeting various areas on the ground. Appears under your feet. Players staying in these areas will receive a medium amount of damage if they stay inside for too long.
- Sentry Blaster : Cone attack targeted at one of the two people with the highest level of aggression.
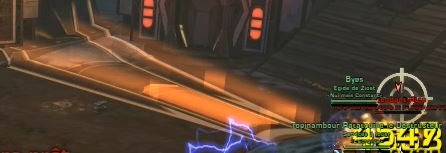
- Cartridge shotgun shooting: Cone attack targeted at the second person with the highest level of aggression. Significant damage received at the end of the pipe.

- Fly (energetic) : Targeting purple fixed on a person at first then blue when it is fixed to the ground. Significant area damage after fixing to the ground. Potentially fatal.
- Call of pirates : Summons several very resilient tipsy pirates. They die very quickly in the various areas of the mass barrage or the fly.
And then here are the combat abilities of the various other NPCs (Non-Player Characters) who will regularly join the fight:
- Explosion (Hoist - Kinetic) : The freight elevator moves towards its target and explodes on contact, inflicting area damage. Two freight elevators arrive every 30 seconds and each target a random person in the group. Average damage.

- Ranged attack (Pirates): Basic ranged attack on a person. The range of this attack is the entire combat zone. Usually hackers are all targeting the same person. Potentially Fatal.
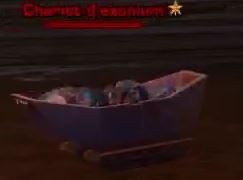
- Explosion (Baradium Cart): The baradium wagons are regularly summoned by Bulo and move towards one of the two tanks. They then explode one after the other on contact and inflict area damage.
Course of the fight
The strategy of this boss is relatively simple to understand and can be summarized as follows:
- Avoid AOE (Areas of Effects / Damage)
- Exchange of boss attention between tanks
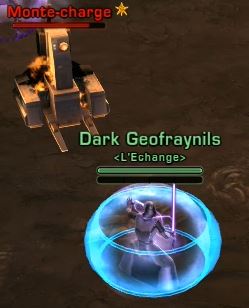
- Collect and kill the tipsy pirates fast enough that they don't kill anyone
Here is the step-by-step detail of the whole fight.
Entering combat: The whole group must be within 4 meters of Bulo without exception. The two tanks move towards the back of the room so that the cartridge rifle fire does not hit anyone. The first pirates arrive after 30 seconds of combat so around 15/20 seconds a tank must take a barrel and go to stand on the high platform to retrieve the pirates. In passing he should be targeted by a barrage which will land under the feet of the said pirates and which should kill them all. Once this is done, the tank goes back to the boss and recovers it via one of his provocations (if your spells are not available, right click on the barrel buff to remove it).
Here is a small overview of the placement to be made:
The death of the pirates at height marks the end of this phase. The distant dps must then move towards the back of the room on the barrier side, the healers a little further forward. The melee dps will logically stay behind the boss. During the rest of the fight you will only have a few strategic points to respect, but not always in this order.
- This first point concerns anyone who is more than 4 meters away from the boss. You will be randomly and regularly targeted by the flight. The damage is significant so move as soon as you see it on you and only stop when it is blue and you are out of it completely. Also avoid heading towards your allies, they may be surprised and not get out in time.
- Le Grape blaster et Cartridge rifle firing should normally only target tanks. These should be placed so that the cones are facing outside the room and they are not both inside. Here is an image to recap the possible positions.
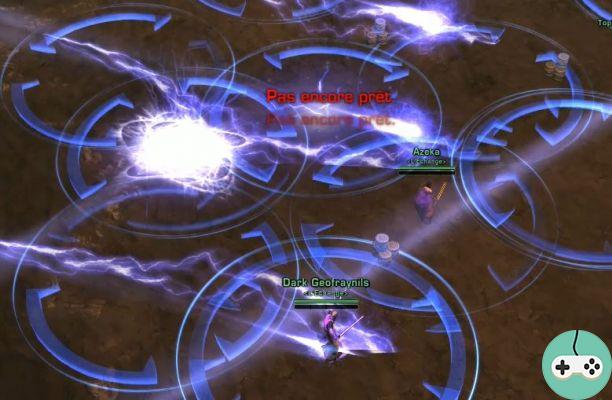
- Le mass dam is a massive attack whose usefulness is mainly to kill the pirates and to annoy you because there will be very many areas of visible effects. It is possible to reduce the number of visible zones for dps / heal and more particularly remote dps. To do this, you just have to follow this path:
- First appearance: do not move
- Second appearance: leave the area. The arrival of the second zone is marked by the increase in the number of triangular indicators inside the circle.
And start again with each new area that arises under your feet. Here is then in pictures what this path gives for 4 appearances of a barrage phase, knowing that even in the event of failure, the damage remains minimal.
- The explosions of the baradium cart and the load elevators must take place far enough away from other players so that they do not take area damage. Using a defensive spell at this point is a help to your healers, but not absolutely necessary.
- The last point concerns tipsy pirates. They arrive regularly in waves of 5 or 6 pirates. They automatically target the highest threat after spawning (often a healer) and must be recovered as quickly as possible by a tank using mass taunt. The second tank then retrieves a can and comes to retrieve the pirates by placing itself in melee. These then become mobile and will follow the tank that has the can. He must then either place them in a blue zone coming from the flight, or in an area of mass dam. Once the pirates are recovered by the second tank, the first tank returns to the boss and once the pirates are dead the second does the same and can remove the buff from the barrel by clicking (right click) on it to regain use. of his spells. Tanks must switch roles with each wave of pirates.
Additional tips
This strategy requires a lot of work from the tanks. It is possible to simplify their work by assigning dps to the recovery of the barrels so that they recover the pirates and place them in the blue damage zones faster. The fight will be longer but the rage is long enough to afford to do it.
If you ever thought you had the pirates on the left or right and that they came up in the middle, it means that the placement of the tanks is done too towards the back of the room. It is then advisable that the tanks get closer to the barrier behind the dps (to the right or to the left depending on where the boss is). The objective is that they are oriented in the direction of the appearance of the pirates because this would affect the location of the latter.
If the placement of the mass barrage is too complicated you can simply go straight in the direction of the length of the room even if it means going out of reach of the boss, the enrage being long enough to afford it. Some classes can afford to stay in it using the right defensive spells.
Booty
- 1 Head Token 198
- 1 Random Hors-set 198 Piece.
- 1 Implant in Token 198 (presence or not of this object: random)
- 4 Ultimate Honors
- 8 Elite Awards


