


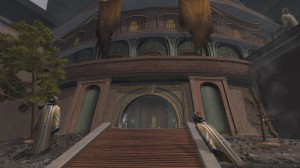
The Empire launches an offensive on the Jedi home planet, where the Grand Jedi Council is located. An attack that comes at the very moment when the Republic has decided on an Incursion on Korriban. Funny coincidence.
Presentation
Appeared in update 2.7
Solo mode is available, reducing bosses' hit points and simplifying their mechanics.
This Flashpoint is doable by both factions, in a different context, but bosses, although their names differ, have the same abilities (with different names), regardless of which side you are on.
Three bosses await you:
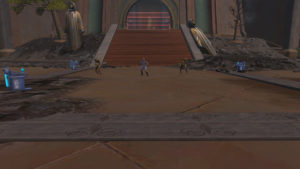
Pathway
There are two types of enemies to beware of.
- Imperial / Republican soldiers
- Assassins / Shadows
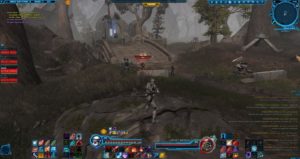
strong type (silver)
You find them on all the packs before the first boss and are able to pose real difficulties to the group. They launch a firebomb at the biggest threat, which takes the form of a red damage zone. To top it off, the chubby officers (not found on all packs) will stun you and the combination of the two can cause the Tank to go up in smoke! The best is therefore to target them as a priority (failing to be able to control them) and especially to interrupt their incantations.

weak type (double yellow blade saber)
You will find them in the objective pursuit before the second boss. Not that they hurt nor that the packs are particularly difficult, but if like me, you like to organize your groups in a well-ordered way, they will make an indescribable mess with their projection at 30 meters. Also ask a DPS to take them one on one or stick a grenade on them (they are weak type I remind you so can be stunned easily).
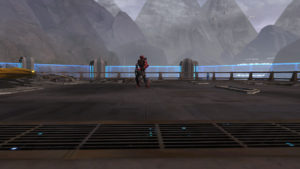
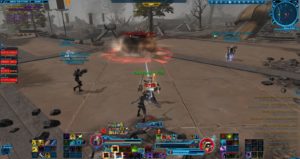
Imos / Travik
Solo Health Points : 175 680
Point of view History : 465 517
capacity :
- Avalanche of fire / Auto fire: Channeled shot at a target
- Mortar Volley / Death From the Sky: Channeled damage zone thrown at a target
Here everything is a question of placement and if everyone plays their part, it does not pose any difficulties even for the healer.
There are 2 distinct phases for this boss, this one will follow one another during the fight.
- Phase 1
- Phase 2
The boss is in the center of the room and will ALWAYS channel in this order:
- a weak Auto Fire / Avalanche of Fire
- a strong Fire / Avalanche of Auto Fire
- a Volley of mortar / Death from the sky
- another Volley of mortar / Death from the sky
Here the Tank takes the boss and turns him over in the classic way. However, he must be careful to get out of the area pounded by the successive Volleys of mortar / Deaths from the sky.
To add a little difficulty, the boss will regularly during this phase cast a "Death from the sky". Its damage is significant, but even if the area covered is a bit larger than that of the mortar volley, it is perfectly avoidable and MUST be avoided. You have plenty of time, the first tick only hits 4 seconds after the area appears.
IMMEDIATELY after the end of the second Mortar Volley, 2 "strong" type soldiers will appear in the four corners of the room.
From now on :
- The boss is covered with a shield that makes him invulnerable
- Reinforcements also have a shield which makes them almost invulnerable.
- The boss instantly launches every 5 seconds on each member of the group, a large area of damage
You must first know:
- That once the 4 reinforcements have lost their shield (if one remains up, it does not work), the boss instantly stops placing his zones.
- That reinforcement aggro works in a particular way, as with the reinforcements of the first boss of Operation Ravagers, they attack the closest player.
- Having the boss's damage area properly placed in one hit removes the shield from the adds.
The strategy is therefore as follows:
- At the end of the second Mortar Volley, each of the 4 players is placed on each of the 4 corners of the room.
- As soon as the reinforcements are there, put yourself right on the one appeared in your corner (your two characters must merge) and wait for the first zone of the boss.
- Once the zone is present, get out of it without straying too far from your reinforcement.
- At the first tick, if you have followed what is written, all the shields have fallen and the boss stops his zones (you will therefore have had only one).
- At this precise moment, you all launch a defensive power and solot your add in 1 against 1. If level care, it is too hard (more defensive power, limited equipment), you can then all go down the first stairs ( not the latter). The reinforcements will then follow you and regroup, the Tank will then be able to take them all.
- Once all dead, return to the boss in Phase 1.
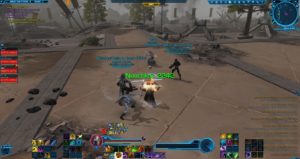
Liam Dentiri / Kreshin
Solo Health Points : 140 544
Life Points History : 504 377
capacity :
- Bleeding: Damage over time
- Stealth: becomes invisible and summons two droids for reinforcements
From this moment, 2 phases will be repeated successively.
- Phase Camouflage
- Boss Return Phase
The boss casts a camouflage (this one is long enough you have time to see it coming) and disappears to make way for 2 droids.
To locate them I will choose the Jedi Temple as a reference.
- If, when you are in front of the temple, the droids appear on your left: they are 2 Melee droids that look a lot like the ones you faced at the start of the fight. Also beware of their area projection.
- If, when you are in front of the temple, the droids appear on your right: then they are 2 ranged droids which when they target the same person hurt a lot. Here the Tank must therefore take one while the others go to the one that remains.
- If, when you are in front of the temple, the droids appear behind your back: no luck, this is the toughest group. They are of the "Elite" type, do damage from a distance and regularly pose a damage zone on each player that hurts a lot. Also avoid it!
Anyway, it is imperative to get the droids down as quickly as possible so that the next phase does not overlap with this one. Once the droids are dead, if the boss has not yet reappeared, remember to regroup in the center of the area to facilitate healing and what follows.
The boss comes back and poses (not always but 2 times out of 3) on a limb randomly a damage over time (DoT) which is very very bad (it takes the form of a small dagger).
Hence the interest of being grouped so that the healer (or yourself) can dispel the DoT instantly. Note that if you are in full health, this DoT will not kill you but you will focus the attention of the healer and the boss in the meantime does not deprive himself to hurt others, if you add the reinforcements that you did not have. time to finish ... CRITICAL FAILURE!
And we start again ...
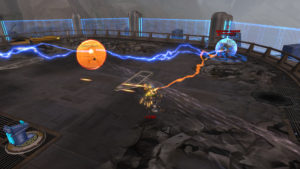
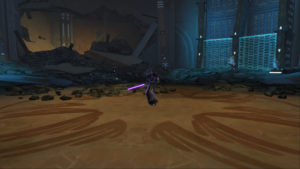
Oric Traless/Goh
Solo Health Points : 158 112
Point of view : 614 880
capacity :
- Successive lightning: damage thrown at a player
The fight is broken down into three phases:
Phase 1: the Tank takes the boss and all players hit him. However, be careful of the purple damage areas scattered all over the room, they hurt a lot. Regularly, the Tank is thrown by the boss which has the effect of reinitializing his aggro. So pay attention to this
Phase 2: The boss focuses on one of the datacrons in the room, all players MUST focus on this one. If you take too long to destroy the datacron, the boss recovers all of his life. Then it's up to you to see ...
Phase 3: The boss surrounds himself with a shield which makes him insensitive to all types of damage and all players are targeted by purple damage zones on a regular basis. Here again, don't start running all over the place! One step is usually enough to get you out of the area, and the less you move, the less areas the room is filled with.
Then we go back to P1 then P2 then P3.


