


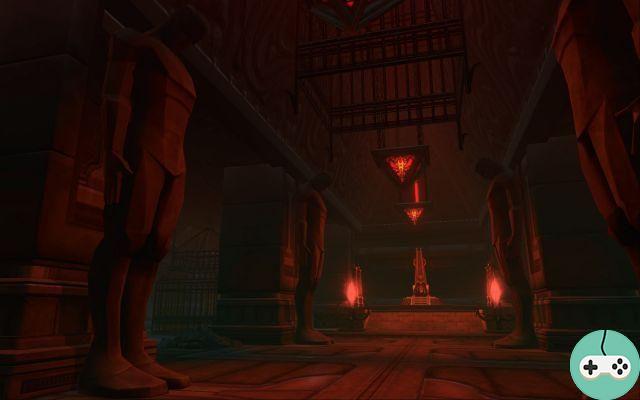
Hello everyone, today we are going to present the guide for the fourth boss of Operation Dread Palace on Hard mode. A series of guides had been started by Zuh, who no longer has time to take care of it, so Tigroou (Maverick), Loni (Malfrat Care) and Sparkk (Sentinel) of the guild Guardians of Anachore on the server Mantle Of The Force volunteered to take up the torch (note: after being harassed by Juliaan ^^).
This guide is not necessarily to be applied to the letter but it will allow you to have a good base to fall this boss. The different techniques used in this guide allowed us at the time (2-3 days after the release of the raid) to fall this boss without too much difficulty.
Raptus is therefore the fourth boss of the Dread Palace. He has 3,3 million health points.
We recommend 72 augmented equipment. The 78 is a plus but is not mandatory. We have never seen the rage of this boss.
This boss relies on a lot of work from the tanks. A group of excellent healers and big damage brutes is of no use if the tanks aren't doing their job well. The raid's death is never far away when the tanks mess up their strategies.
capacity
- Deadly cleft
- Penetrating strike
- Force Execution
- Into nothingness
It is a semi-circular attack with 2 seconds of casting which is followed by a knockdown.

This attack will hit the Tank so as to send it high in the air in the same way as Dash'rood, the first boss of Darvannis. You must therefore make a tank exchange at this time so that the one who did not have the boss can take it.

This attack doesn't happen often, but it's basically a huge AoE attack with a red circle centered on Raptus as well as a large area of lightning coming out in front and behind Raptus.

Anyone caught in the lightning suffers significant damage. Those remaining in the circle will often suffer instant death. This ability has 3 seconds of cast, so enough time to exit.

This circle has the effect of teleporting you to the back of the raid platform on the bridge.

It has a few small holes but nothing very difficult to avoid. You must therefore move away from your friends, any person taken with you in the circle will necessarily be sent to the bridge with you.

Challenges and crystals
This boss is broken down into 3 phases interspersed with two challenges.
For these challenges, crystals will be essential:

- Le red crystal increases damage done and damage taken, so it's a crystal for damage classes.
- Le green crystal increases healing done and decreases maximum hit points, so it's a crystal for healers.
- Le cristal violetst increases armor and decreases animosity, so it's a crystal for tanks.
- Damage Challenge
- Care Challenge
- Tank Challenge
Once in the phase, you have to kill the enemy in the center. A spell will appear at some point (around 10%).
Challenge Fail: The boss does 10% more damage for each failed challenge.
Once in the phase, you have to heal the character in the center and prevent him from dying.
Challenge Fail: Raptus reflects 2,5% damage with each failed challenge.
Once in the phase, you have to stand in the center of the room, in the enemy's hitbox (red circle) and survive for a while.
Challenge Fail: The Tank Challenge cannot be missed if both tanks are in phase and melee. We cannot tell the effect of failure.

Course of the fight
The start of the fight is a warm-up with the placement of the boss back to the raid because he does damage in a cone in front of him.
At 94%, the group is teleported up on a platform. There is a throne with the 3 crystals mentioned above as well as portals for the different challenges.
Once teleported, each person will take their associated crystal for the next challenge phase. The boss is under bubble and immune so there is no point hitting him.

Once the boss is lowered, the tanks place it perpendicular to the throne (damage classes and healers are placed on it). The damage must be relatively sustained for the first phase of challenges to reach 75%. If the party damage is a bit light, you will have the challenges before the 75%.
You have exactly 1 minute to complete all three challenges. A damage class will be grabbed by Raptus, will lose his crystal and will therefore have to stay on the platform avoiding the boss until the rest of the raid can finish the challenges. There's no point in trying to hit Raptus or he'll throw your damage back at you.

The player remaining on the platform must avoid Raptus, who performs a "TourbiLoL" (damage zone around the swirling boss).

We recommend that you bring in tanks and healers as soon as they are ready. Damage classes wait in front of their challenge for the message "you have 30 seconds left". This allows the tanks and healers to finish their respective challenges well before the damage classes, to position themselves, to place the boss and to move up the group.
In phase 2, the boss gains two abilities: Deadly Slash and Penetrating Strike. The placement is always the same. At around 50%, you will have the second challenge phase.
In Phase 3, the boss now has the most critical ability: Force Execution. The placement is the same for the tanks but the damage classes and healers must be placed on the entrance side to minimize the return time with teleportation.
Video
Booty
- Dread Forge Legs Token (index 178 set bonus)
- 2 random Oriconian coins (index 178 Outside set)
- 1 Equalizer
- 6 Ultimate distinctions
- 8 distinctions Elites


