


Attention this series of articles contains spoilers on the history of KOTFE and KOTET.
If you want to keep all the surprise on this content, stop at these lines.
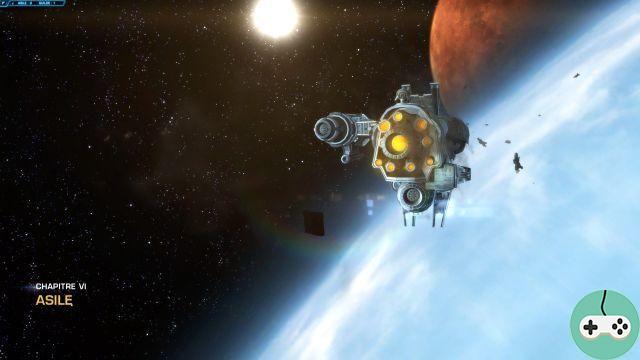
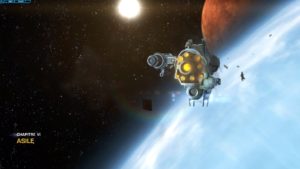
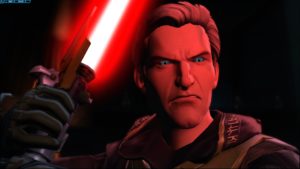
We found in the Zakuul swamps a "new" vessel to leave Zakuul: the Cenotaph. During our exit from the planet, the Eternal Fleet tried to stop us but, true to the legends which surround it, the Cenotaph is equipped with an overpowered weapon allowing to smash a good part of the Eternal Fleet, which we opens a passage to escape. We then head to Asile, a lost hole in space where those who want to disappear from radar meet up.

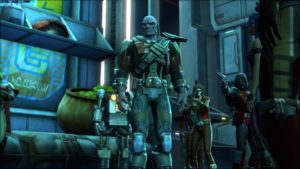
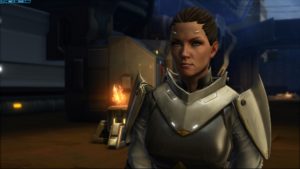
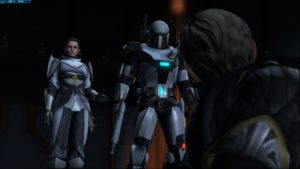
When we arrived at Asile, a troop led by Len Parvek tried to board. We oppose it and prepare for combat, but it seems that this troop is under the command of Koth Vortenna. Lana leaves to contact her spy network and Koth comes back to us to ask to help one of her engineers who has not returned from a supply mission. We get ready to leave and are called out by Senya who asks us to join her elsewhere after having brought engineer Tora to safety.
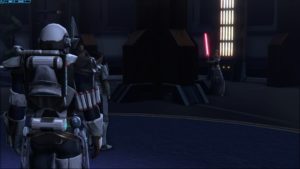
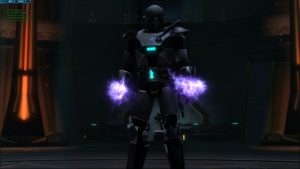
The drive to the exchange place where Tora is located is fairly quiet. It is dotted with pirates but the groups are only made up of weak or standard enemies in small numbers. Nothing to worry about but, if you have difficulty eliminating them, use your control abilities (death from the sky or unloading as a mercenary). The first enemy where you have to stay relatively careful is Oggo. It is an elite that begins with a death from the sky that must be interrupted or from which it is necessary to get out of the area effect as quickly as possible. After that, I used a reflection to kill it, but its health bar was quite low so it didn't last the full time of the effect. Just be careful with the start of the fight which is very fast and will deal a large amount of damage to you if you are not careful.
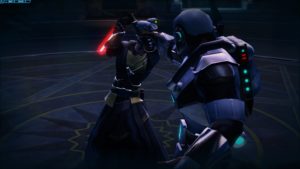
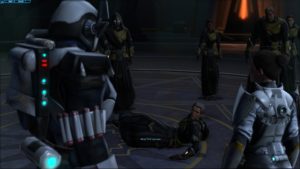
Eliminating Oggo will open the door he is guarding for you, giving you access to a passage to a room where Tora negotiates with Tanno Vik, a former member of the Chaos Squad, elite of the Republic forces. The latter seems to want to get rid of Tora and does not budge. Having no time and even less money to waste, we choose to eliminate it. Tora then recovers the thermal detonators that she had come to seek and we join Senya at the meeting point that she transmitted to us.
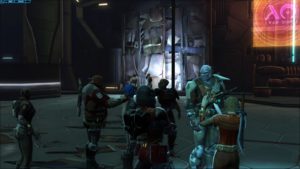
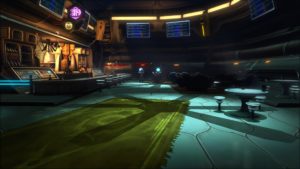
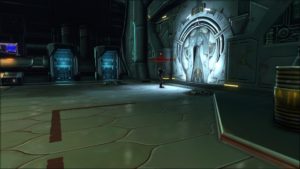
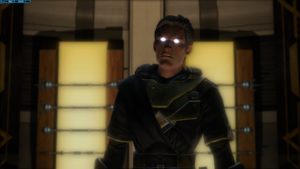
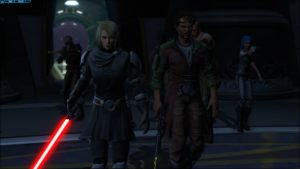
Upon entering this new area, HK-55 is neutralized by a discharge of unknown origin. Senya believes that the droids have nothing to do here and that we must meet with her allies. This is when Valkorion intervenes and urges us to continue on the road. We ask for explanations and Senya tells us that two orders ensure the safety of Zakuul: the order of the Knights, always in the service of Arcan and the order of the Descendants which split after the death of the Emperor. Heskal, one of its members, enjoins us to show him our bravery by facing some acolytes to test our bond with the force. It is therefore a challenge that lies before us.


Our first two opponents are Tersu et Taral. If you have a control ability such as Cyclone or Stun Missile, start by neutralizing one of the two. I opted to start with Taral and end with Tersu, so it was the latter that was checked. Taral unleashed a storm of force early in the fight. You have to get out of it as quickly as possible. Don't hesitate to keep your distance (kyte) as much as possible to avoid some basic attacks and allow Senya to heal you. Once at the bottom, two standard acolytes will come to help these two Descendants of Zakuul. You can knock them down with an area ability or control them one by one with your control abilities. Then finish with Tersu, starting by leaving the field of death that she poses. Then all you have to do is eliminate it properly.
Heskal asks us about our motivations. Vengeance guides us, while Senya seems grieved by the shame of what has become of the Knights of Zakuul. Livid et Berusal will then be our second test. I chose to control Vanat first. Berusal will quickly be accompanied by two acolytes and will re-summon them a second time at around 25% of his health. It will absolutely be necessary interrupt his capacity crushing force on pain of dying instantly. Berusal is quieter because he is content to summon explosions of lightning and storms of force that can be reflected, interrupted or cut while hiding behind an element of the scenery.
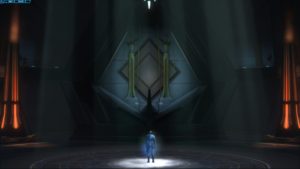

In the last room, the questioning continues. Heskal doubts Senya's commitments, he demands the death of Arcann and Vaylin, but Valkorion pushes us to wonder about the reasons which push Senya to seek justice. Heskal joins us without further delay for a final confrontation. Interrupt its turbulence as much as possible and immediately exit its field of debris. If you have nothing left to interrupt the turbulence, you can play with the scenery or take a defensive spell. In addition, he disappears regularly to summon shadows that a basic attack is enough to eliminate. Don't waste time waiting for them, just tap once as soon as possible to make them disappear.
At 50%, Valkorion intervenes and offers you its help, which we accept. We then have three additional spells that appear in the power bar like inheritance. The first is a shield that absorbs impending damage, the second is a heal ability that deals minor damage, and the third is an energy shot that deals a large amount of damage. In case of difficulty, you can use the reflection to reflect the damage of a turbulence, but keep it when you have lower health points because it can also be used to pull you up on the mercenary. The fight will end when Heskal reaches 25% of his health.
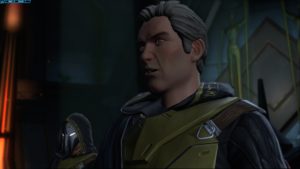
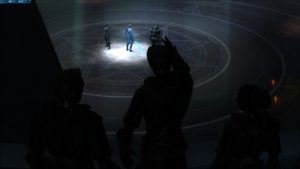
Senya asks us not to kill them and we agree to keep them alive if they want to join us. Lana arrives at this point and demands that the Descendants surrender. They lower their weapons and Heskal gets up with one last question: what future for the galaxy after Arcann? Having spent our time saving the galaxy, we are starting to consider leading it. Heskal then reveals to have understood the reason for his blindness: we harbor the spirit of Valkorion.
Only Lana knew about it, Koth, he seems remotivated. Lana asks that we work to oust Valkorion, but we have a war to win as a priority. Finally, Senya intervened and reveals the reasons for her rallying: she is the mother of Vaylin and Arcann.


